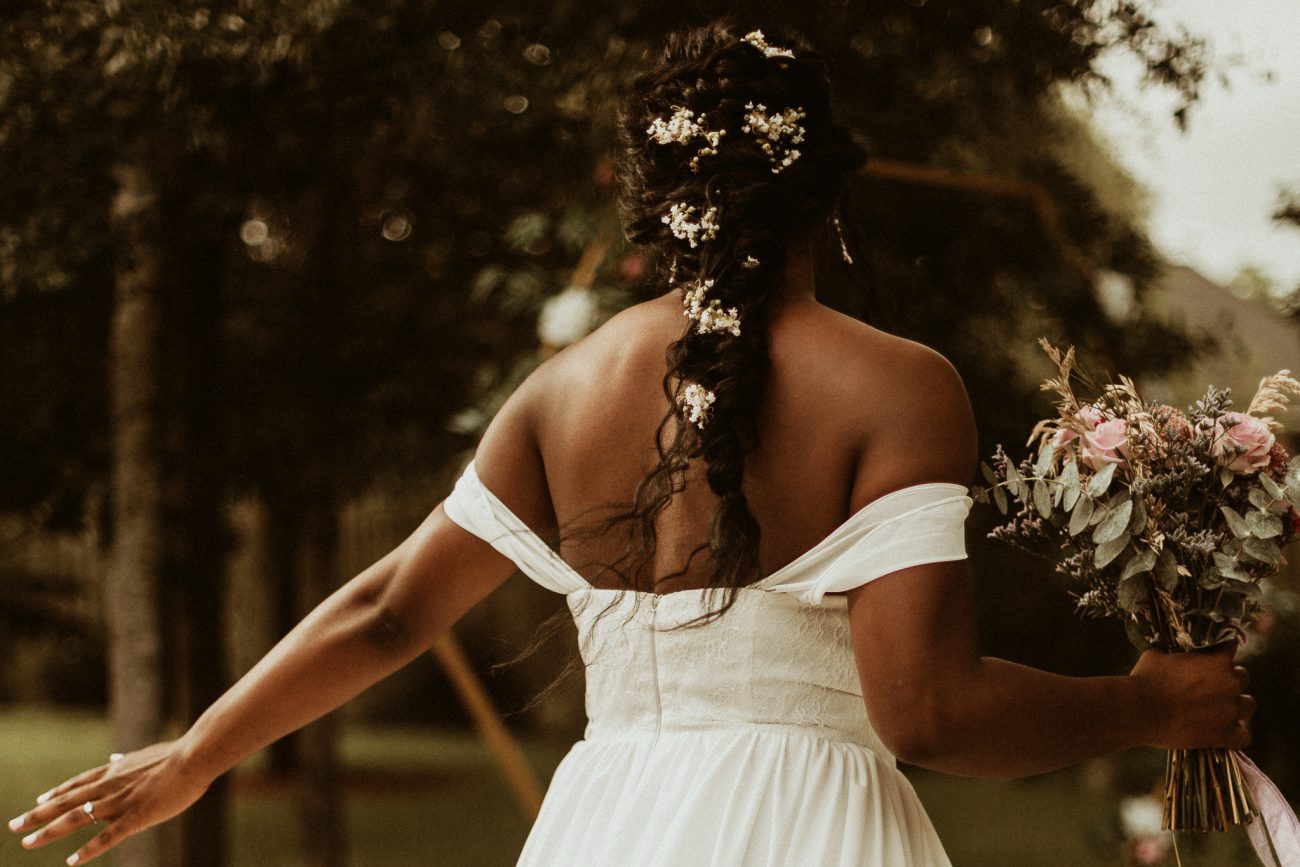
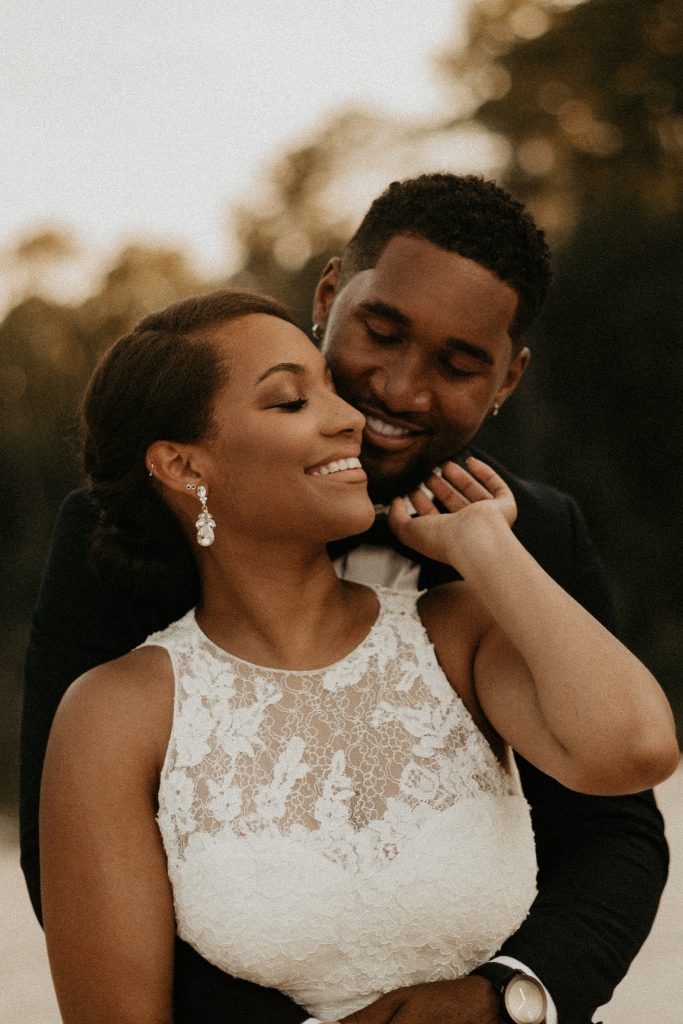
Racial bias had its hold on the photography industry long before social media was around to call it out. Back when darkrooms were the only way to process and develop film, the earliest film stocks were created with light skin as the ideal standard.
With one look at the mainstream media, it is evident that these biases are still pervasive. (If you’re not familiar with Shirley cards, we highly suggest reading up on them for context).
https://www.instagram.com/p/CBc7Xe1nqBd/
It is now 2020, and the industry is still guilty for upholding white beauty as the standard. With new software and cutting edge technology such as Lightroom and Photoshop, photographers still have a lack of understanding of how to appropriately edit melanated skin during post-processing.
Editing skin of any color is definitely not a one-click solution, so we’ve prepared tips, insights and mindfulness practices to consider when editing black and brown skin.
It’s important to understand that there are many tools and programs you can use to post-process digital images. This article was specifically for creatives who use presets in Lightroom to curate their galleries and online portfolios.
Fundamentals
Right off the bat, you should know that most presets on the market, similar to those Shirley cards, were created with lighter complexions in mind. They cater specifically to bright, less pigmented complexions. They’re heavy on the overall contrast, purposely oversaturate reds and oranges, and they overcompensate for fairer skin.
However, melanated people don’t need the extra color and contrast. They’re equipped with that by nature! The preset collection that works best for white skin will probably not work as well on black or brown skin (unless you tweak the hell out of it). It’s important to learn your HSL sliders to know how to appropriately modify the presets you use.
The holy grail of skin tones
Some people rely on actions, frequency separation in Photoshop, and other tools to enhance and beautify skin. However, we like to keep it simple. Our personal go-to sliders in Lightroom are TEMPERATURE, EXPOSURE, AND SATURATION (HSL). That’s the Holy Trinity of skin tones for us.
The best way to understand how they all affect one another is to simply play around and practice. Regardless of your preferred editing style (light and airy, dark and moody, warm and hazy, true to color, etc.), we recommend that you intentionally learn how to adjust these sliders to better represent your black and brown clients.
Local adjustment brushes
Recognize when to take advantage of local brushes. You can create your own, some are bundled with your preset packs, and Lightroom also comes equipped with a whole bunch of them. You can use a temperature brush to color correct green tones and reflections on the skin caused by shooting in grassy areas. This will help when you’ve pushed the green saturation sliders far enough.
You can use a shadow brush and slide the contrast down to lift excess shadows and darkness on melanated skin that is caused by the preset. You can also use the texture brush to smooth out the overall “landscape” of the skin instead of having to go into Photoshop for frequency separation. You‘re able to control the strength of the brush, so it can look as airbrushed or natural as you prefer. We recommend that you watch the video to see clearer demonstrations!
Texture + Spot healing
The point is to always take the extra steps to portray your black and brown clients in the most beautiful way possible. You don’t want to alter them to the point where they look like an unrealistic version of themselves. Long scars, moles, stretch marks? Leave them alone. Unless you are asked and paid to specifically remove them, let them be. They exist permanently on the skin and are part of your model/client’s story.
Tiny blemishes, however, only pop up temporarily. We take the liberty of blotting out the more noticeable ones that may be a bit distracting. Nothing too excessive or intrusive, though! We do this to make our clients glow and make them feel as confident as possible about their photos. In the video, you can see how we adjust the texture brush and run it over the skin for a softer look to the skin. Pores don’t need to be the center of attention.
Lifting shadows + Contrast
When using a local adjustment brush to lift shadows off your melanated client, it’s essential not to go overboard by white-washing their skin. There is a common bias toward lighter-skinned people that glamorizes them as being prettier or more attractive. That’s called colorism. Do not fall into this mindset.
When shooting, it’s important to expose your camera properly for skin, no matter how rich and chocolatey it is. Underexposed photos of black and brown people cause the presets to create a more muddy appearance. If need be, you can also go into your Blacks and Shadows sliders to find the best setting for darker skin.

Yellow eyes, ashy skin + discoloration
Melanated people tend to have purplish discoloration in their lips, yellowing of the eyes, all which become exacerbated by the “magic” of one-click presets. Be mindful of these things in your clients’ photos and fix them! Use your local adjustment brushes to desaturate the yellow eyes a bit and restore some warmth to the places that require it. When darker skin catches and reflects light, it gives off a dull, ashy appearance, but it’s nothing that a boost of warmth can’t mend. Make that melanin GLOW!
Interracial couples
When editing an interracial couple, you’ll be able to see how a preset may flatter one person and completely drown out the other person. Use your local adjustment brushes to your advantage, work those sliders, and be sure that both people are represented and portrayed in a beautiful way. Even if it takes extra time, do the work! Feel like you’re not being paid enough to do so? Raise your prices. Your clients deserve your time and attention, so please do not half-ass the way you showcase them.
Golden hour
Golden hour can be tricky to expose for and edit, regardless of skin color. Some people with lighter skin end up looking way too yellow, like Simpsons characters. Some toastier people end up looking too orange or muddy with awkward complexions. Find a good balance that works for you, and be mindful of how different lighting situations affect their appearance!
Overexposing + Hot spots
In the event that you accidentally overexpose and blow out the details on someone’s skin, you can use the luminance slider to recover some of the lost detail (as long as you’re shooting in RAW). You can also slide down the Highlights and Whites settings to assist in this process as well! If your editing style is light and airy, you can still retain the true complexion of your clients without having to blow out their skin. Also, keep in mind that some highlights on skin make it look healthy, radiant, glowing, and full of dimension. Balance is the name of the game.
Overdoing the tan
The luminance slider must be used wisely, however. We’ve seen many instances where it is used to tan people’s skin far beyond what is true to life. There is a double standard in society that glamorizes fair skin looking more tan, and as a result, we see influencers and content creators edit their photos accordingly. People start to appear way toastier than they really are, and to be blunt, that’s borderline blackface. So, please beware.
Black and white presets
All black and white presets are not created equally. Again, like color presets, they often add heavy contrast, dehazing, etc., and this causes people with chocolatey skin to appear darker than they truly are. Some B&W presets do the opposite, where the grayscale tone blows out and white-washes the photo, skin included. In the video, we show you ways to adjust your black and white settings to achieve your desired look, all without having to compromise the integrity of your client’s skin.
Retaining the integrity of the skin
A preset is a collection of settings, adjustments, and color-corrections that are saved into one convenient click. Regardless of what your favorite shooting or editing style is, you can always give your photos the vibe you desire without having to compromise the integrity of someone’s skin. This goes for all shades of brown. Of course, the preset will give a general overlay and tone to your photo, but you must be sure that your client’s complexion remains as true to its hue as possible. Be mindful of undertones, nearby reflections that cast awkward tones onto your subject, and exposing your camera for skin. The best way to do this is to practice, practice, practice.
Shooting raw
None of these tips will do much for you if you’re not shooting in RAW. There are tons of articles all over the internet that stress the importance of shooting this way, so please look them up if you still need to be convinced. You have so many more liberties and fine-tuning capabilities if you do so, so get on it if you aren’t already!
Mindfulness practices
Beyond Lightroom and digital software, it’s important to truly consider and reflect on the basic mindfulness practices that we mentioned in each point. One click of your favorite presets will not complement every shade of melanin under the sun. Make each of your clients glow and be sure to intentionally glamorize black and brown love. The whole point of this is to promote better representation of our BIPOC brothers and sisters within the industry. Doing so will slowly but surely begin to dismantle the prejudice and biases that have been perpetuated for so long. Please check out our video for more insight! Thank you!


