












Questionnaire

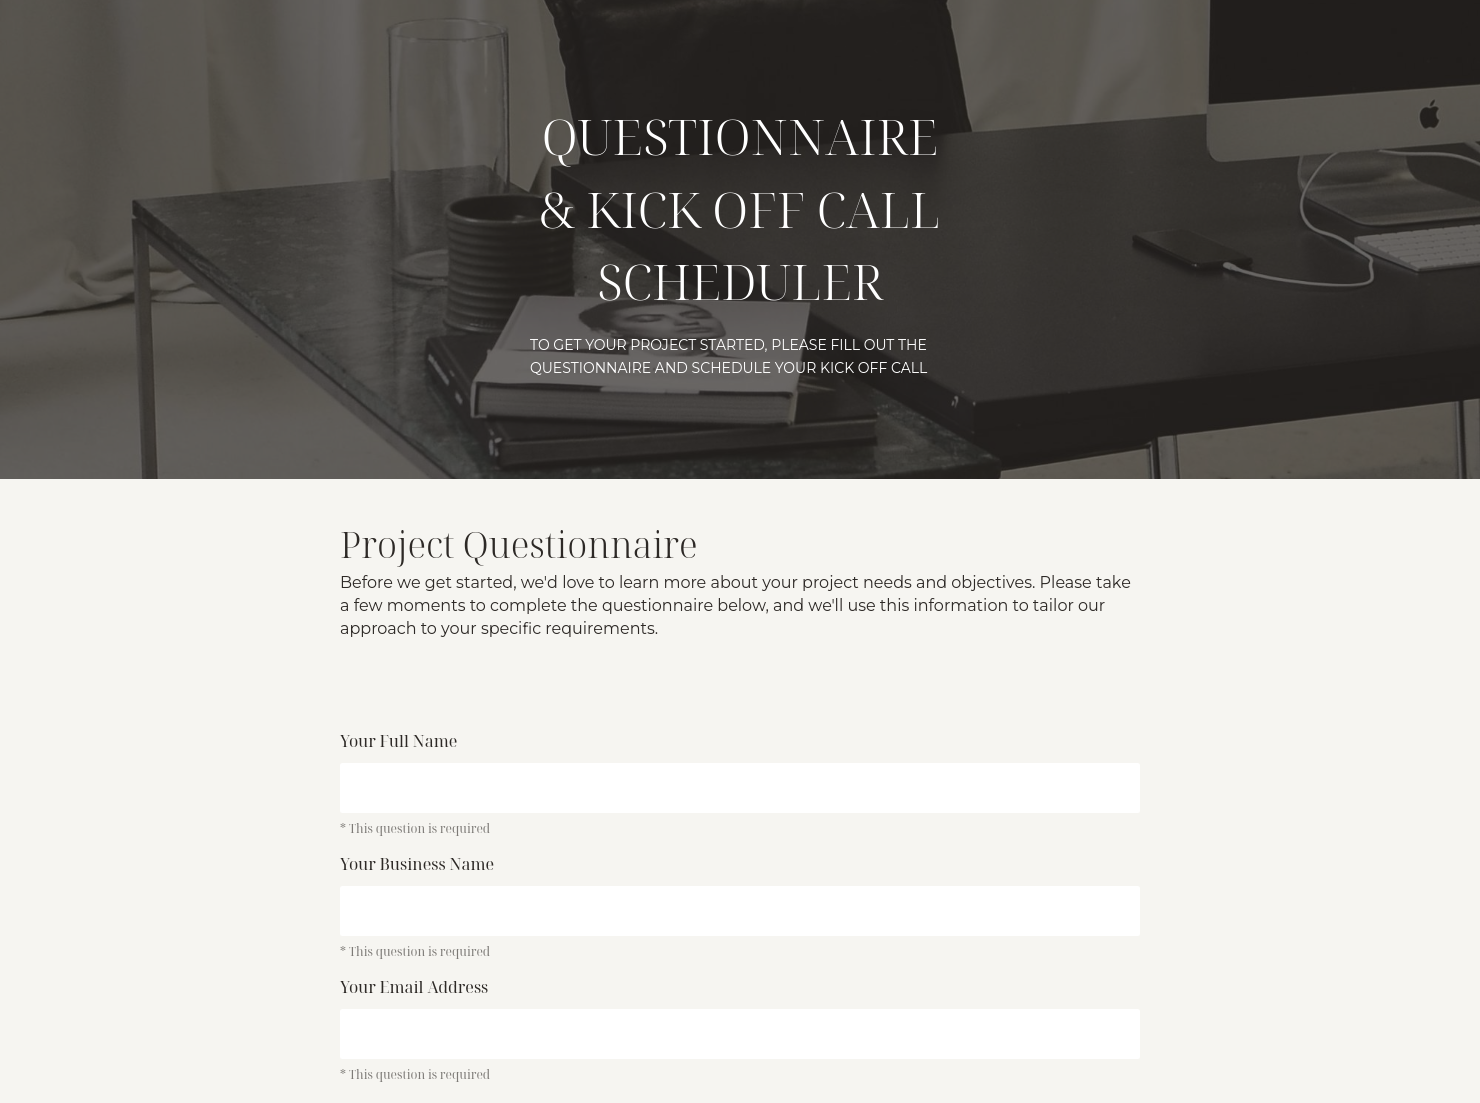
Get client input, collect project details, and set expectations ahead of—or during—any project.

Ready-to-use copy
Templates come filled with prewritten copy you can use as is or edit to match your brand and business.

Scheduling
Let clients book meetings, sessions, or appointments during your available time slots.


“
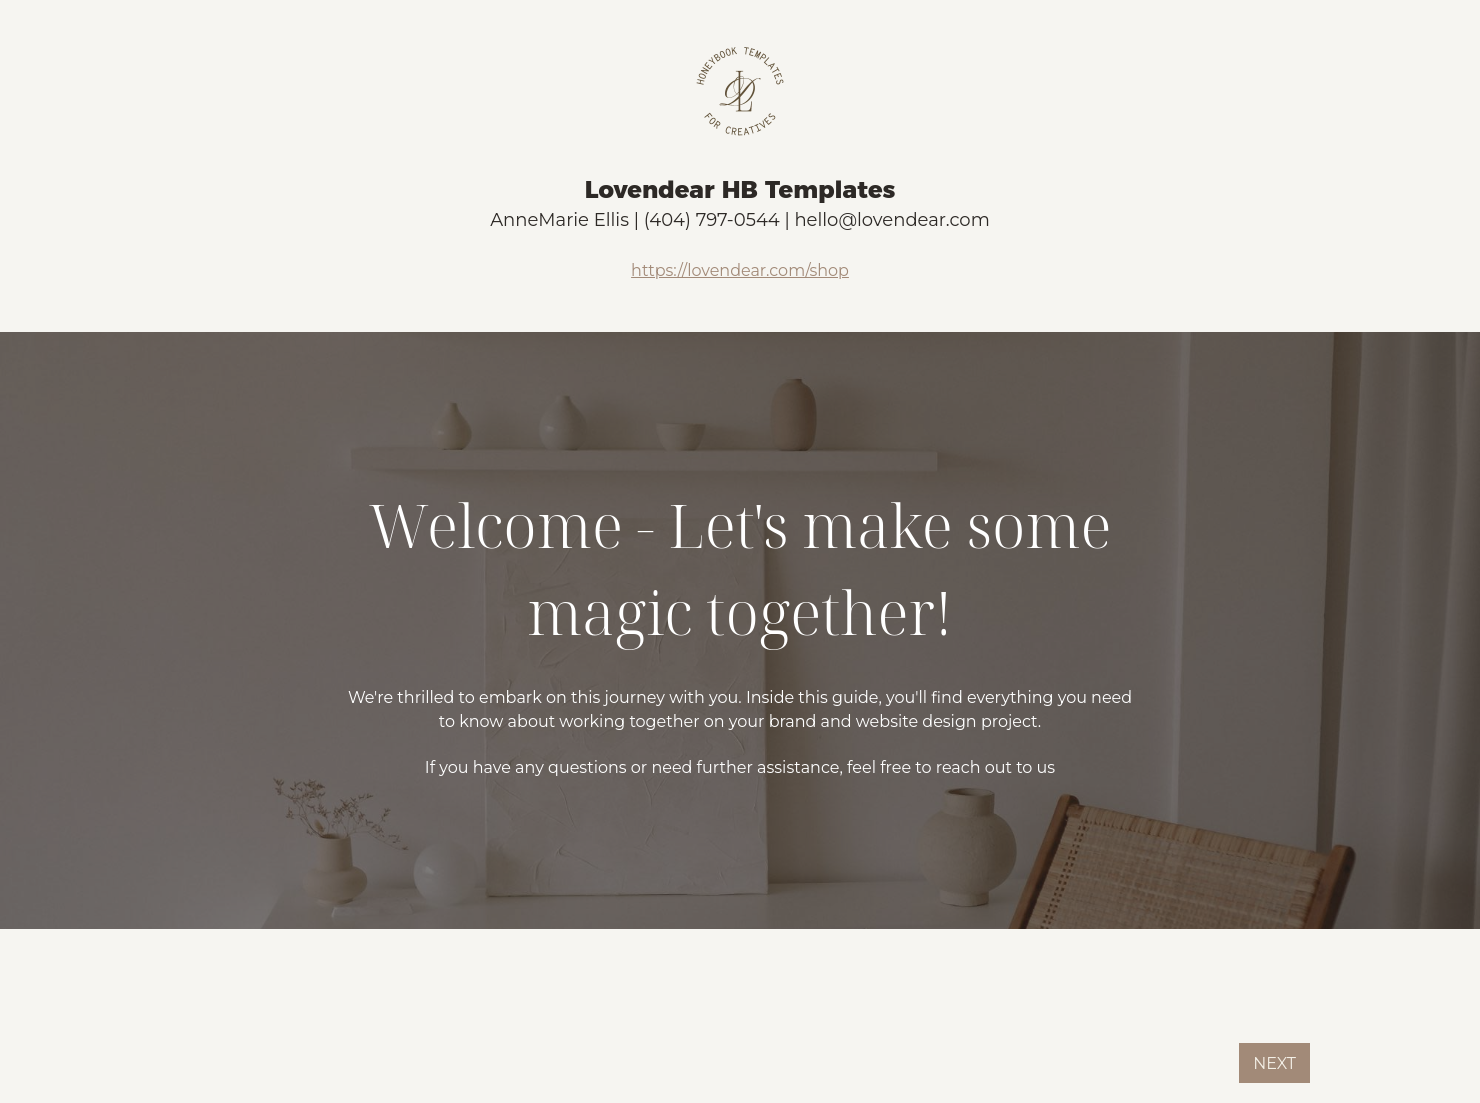
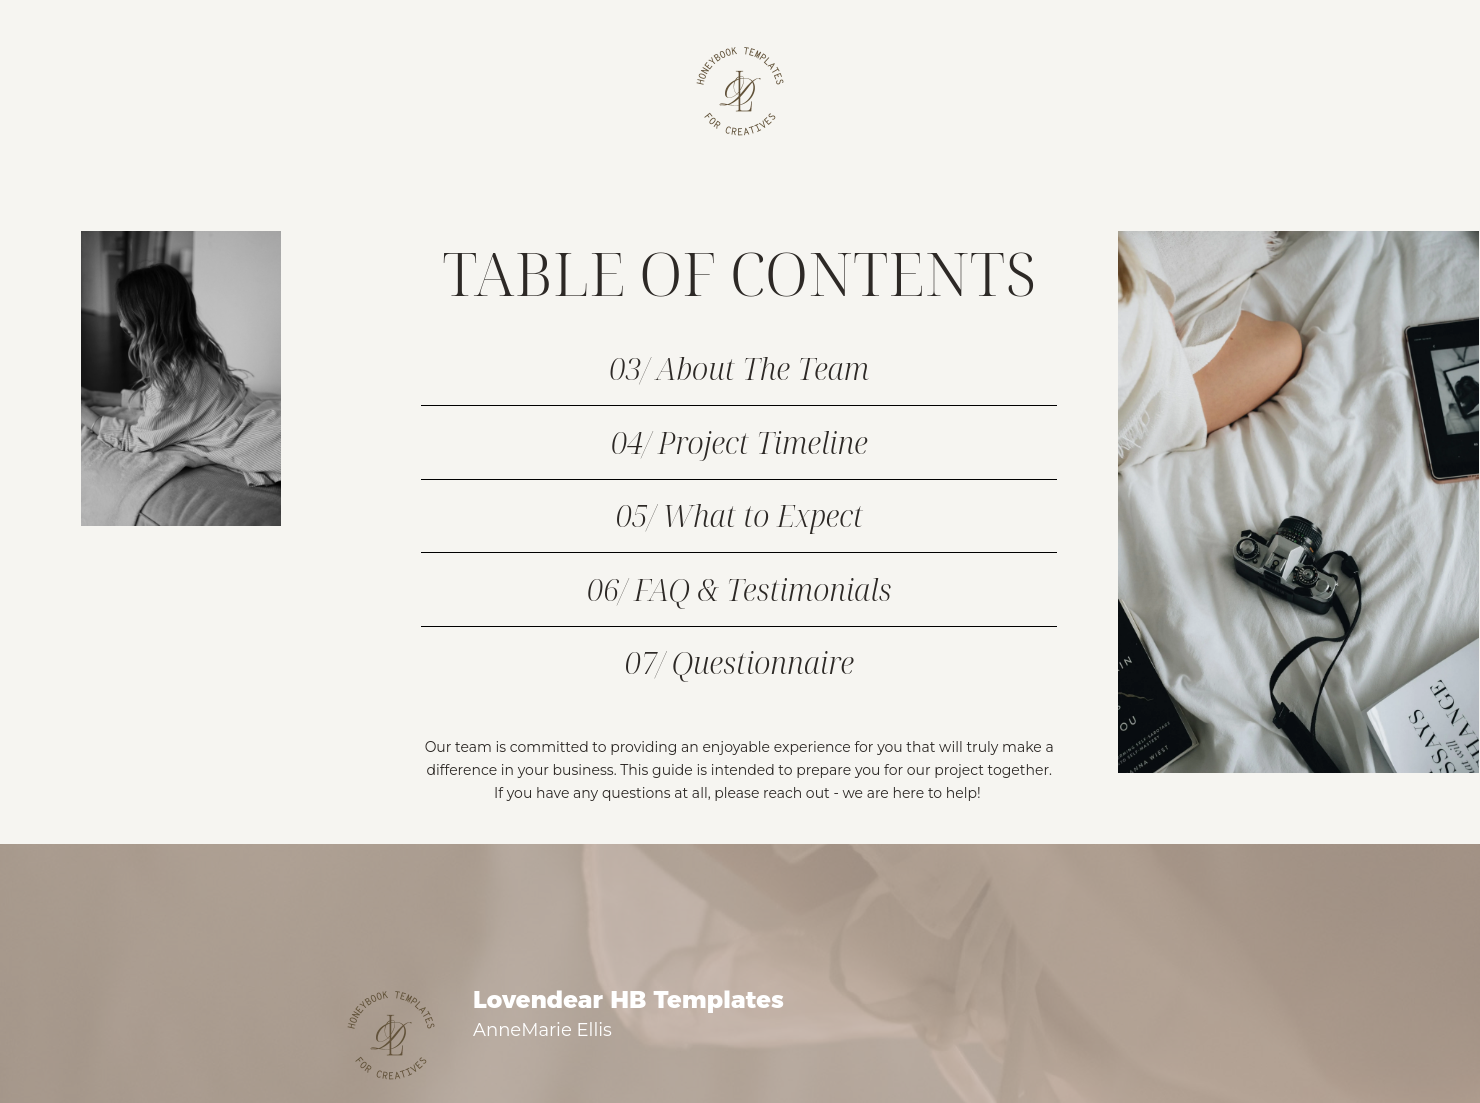
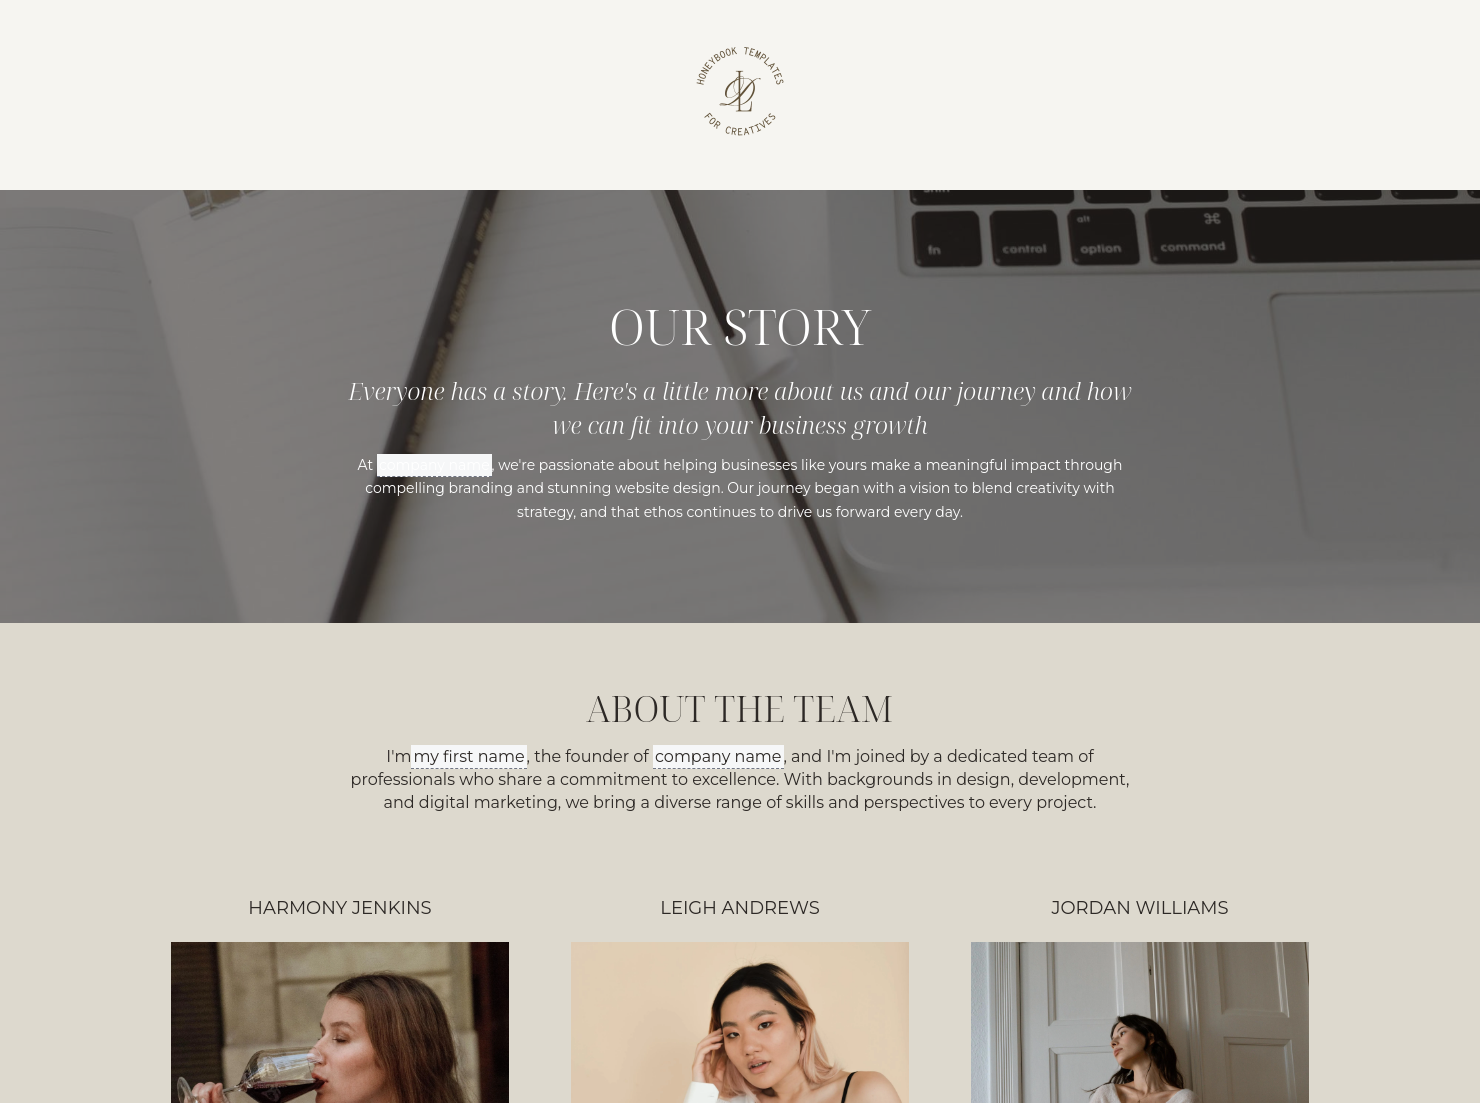
Use this template to onboard and welcome your clients into your project together!
”

October 18, 2026

Best practices for using designer welcome guide templates
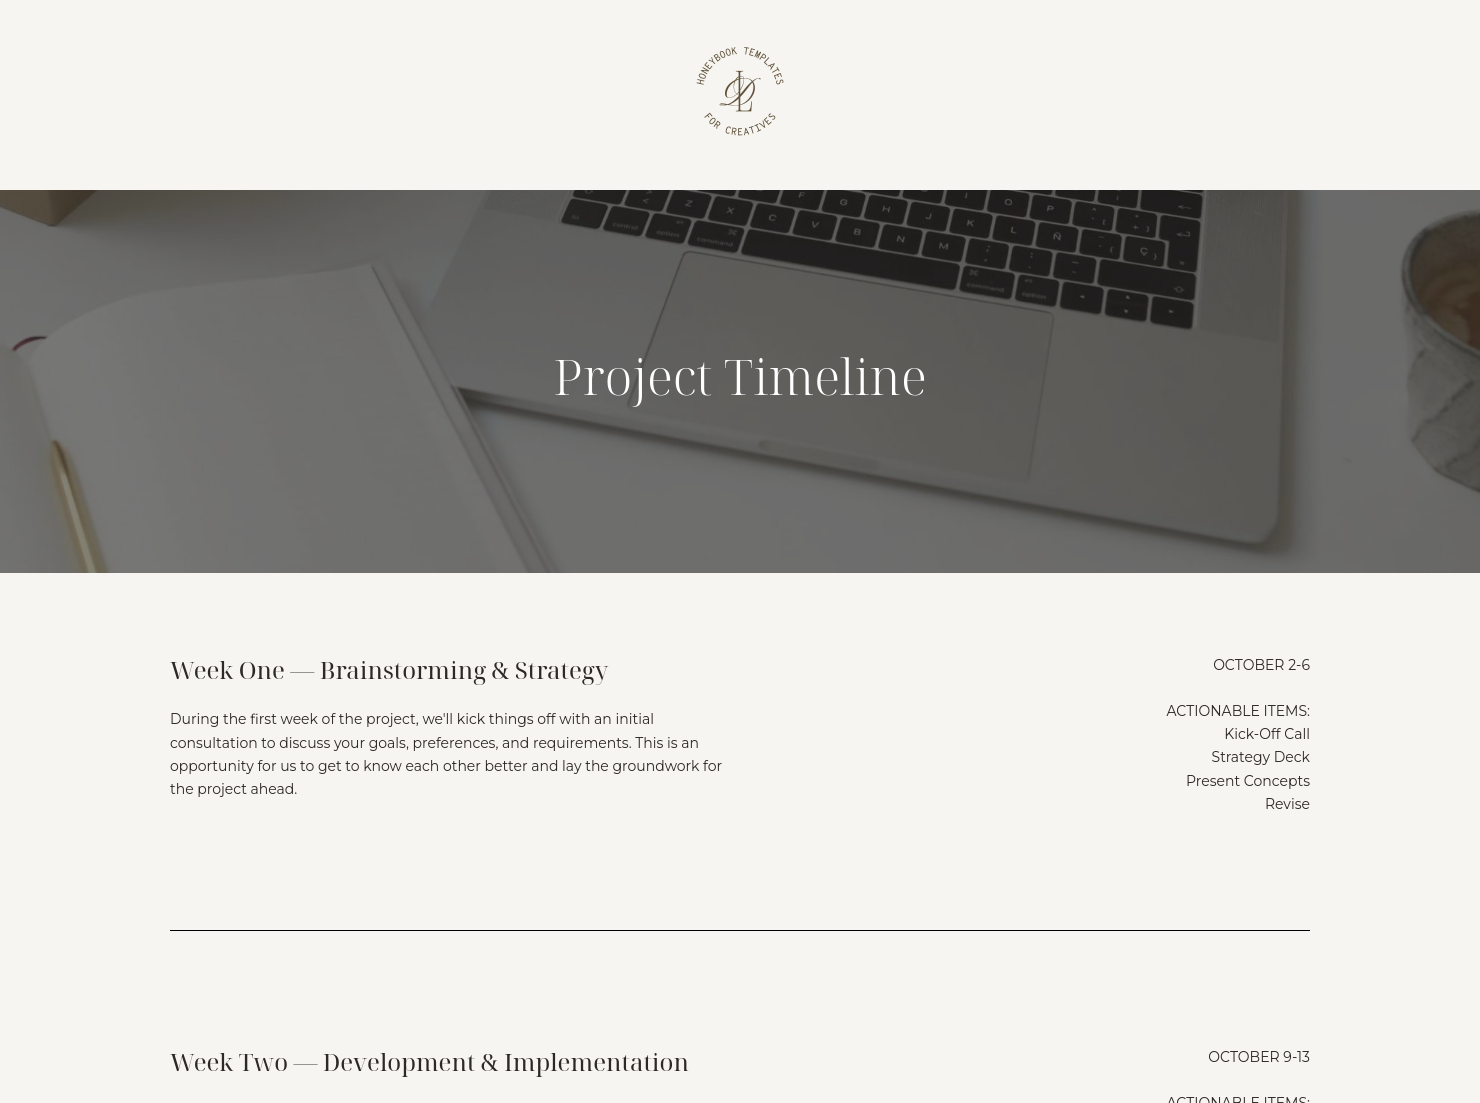
A designer's welcome guide is the document you should send after a client books and before the project begins. It helps you explain your process, collect the details you need, and start with more clarity, better professionalism, and fewer avoidable questions.
Design clients often love the creative side and still feel unsure about the process. They may not know when to send assets, how feedback should work, or what happens after they sign. A clear designer welcome guide answers those questions early and makes the onboarding experience feel steady and polished.
Without one, small issues can pile up fast. Clients may miss deadlines, send scattered feedback, or assume a different timeline than the one you had in mind. That creates tension before the real work even gets going.
A strong designer welcome guide helps you:
- Build trust with a clear process.
- Cut back-and-forth emails.
- Gather project details faster.
- Set expectations for approvals and revisions.
For designers, that early experience matters. Clients are noticing the work, but they are also noticing how you run the business behind it.
A professional designer's welcome guide should always cover the basics clients need to move forward.
- Business and client information: Include your business name, contact details, and the client or project name.
- Services and scope: Restate what you are creating and what is included.
- Project questionnaire: Ask for goals, audience, inspiration, assets, and technical details.
- Timeline and milestones: Share kickoff timing, review stages, and estimated delivery windows.
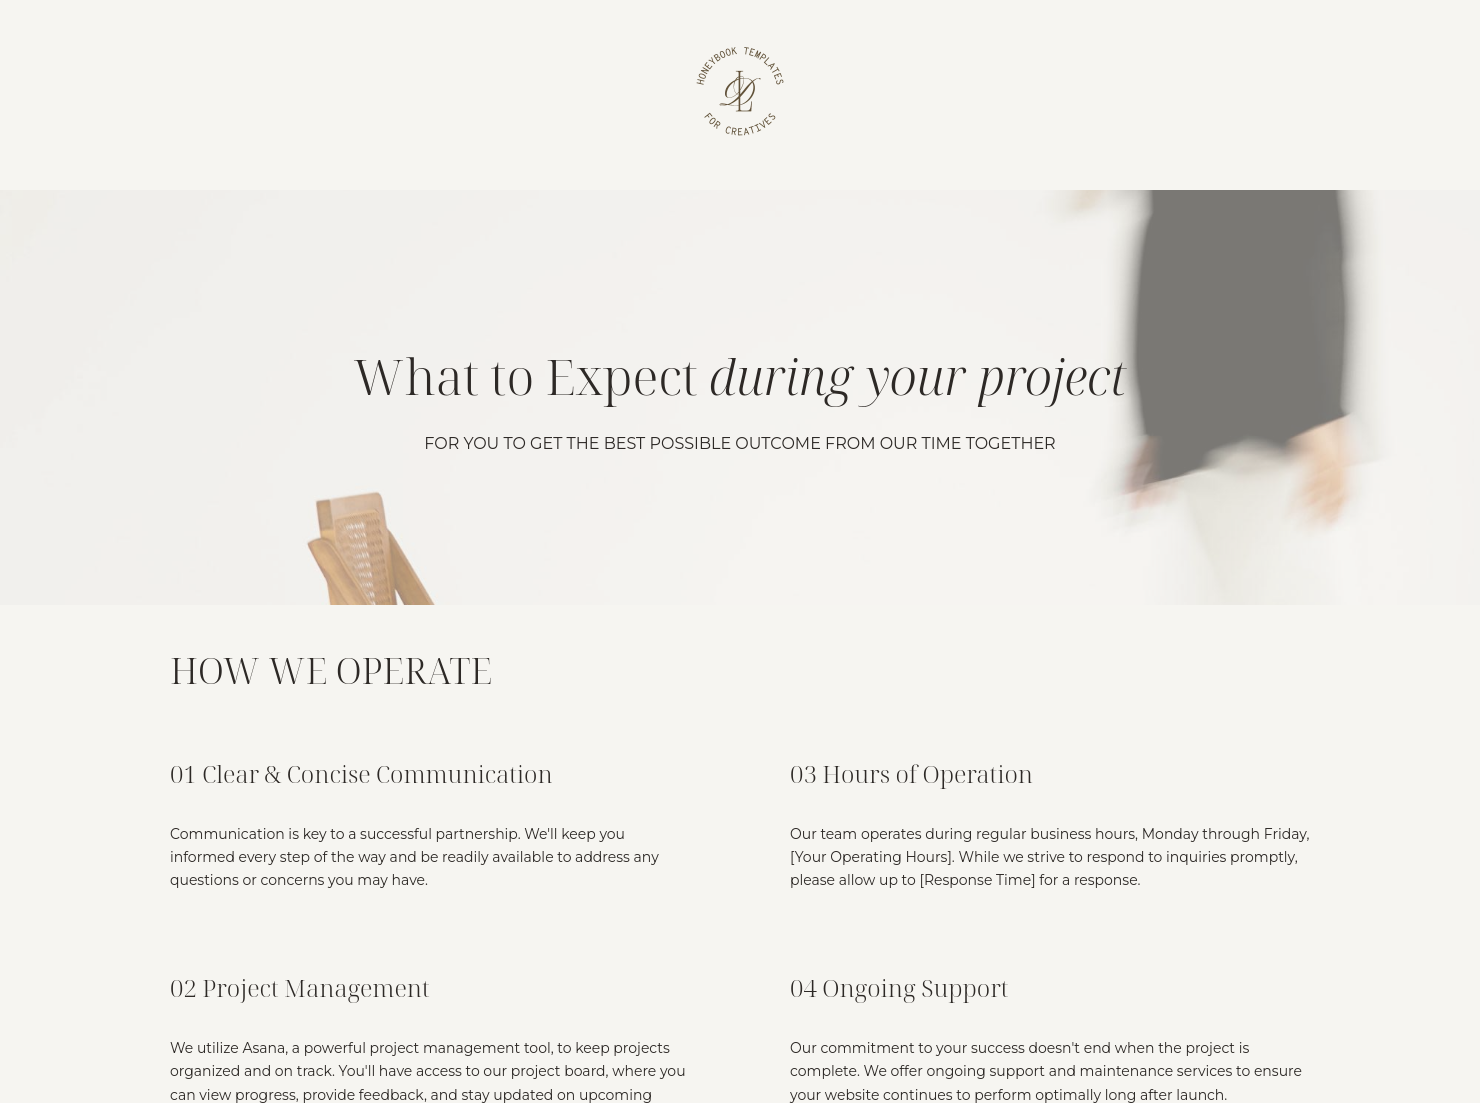
- Communication expectations: Explain where questions should go and how quickly you usually reply.
- Feedback and revisions: Clarify how revision rounds work and who gives final approval.
- Next steps: Give one clear action, such as booking a kickoff call or uploading files.
- Payment or related documents: Mention invoices, deposits, contracts, or any linked files if needed.
When these details live in one place, the designer's welcome guide becomes part of a smoother workflow instead of just a nice extra.
The best designer welcome guide feels like an extension of your brand. It should sound like you, look like you, and guide clients through the early stage of the project without making them hunt for key details. Clean formatting matters here. So does short, plain language.
It also needs the right mix of warmth and clarity. You want clients to feel welcomed, but you also need to be direct about deadlines, approvals, and feedback. If those parts are vague, clients will fill in the blanks on their own, and that is usually where stress starts.
Another big factor is relevance. A strong guide focuses on the questions clients actually have. For designers, that often means timeline, revision limits, communication, file handoff, and what you need before kickoff. A weak version tries to say everything at once and ends up feeling generic.
This is where HoneyBook can help. We give you a place to build a polished, repeatable onboarding experience that fits your workflow. You can shape the guide around your process, keep the structure consistent, and still make each project feel personal.
This template works best right after booking and before active design work begins. That is the point where clients need direction, and you need information.
A designer's welcome guide is especially useful for:
- New client onboarding.
- Branding projects.
- Website design projects.
- Custom one-off work.
- Ongoing design retainers with a formal kickoff.
It is helpful any time a project depends on assets, approvals, meetings, or detailed intake. Instead of sending several separate emails, you can guide the client through one organized start.
Catering has a lot of moving parts, and the menu sits in the center. If your catering menu is scattered across emails, texts, and screenshots, mistakes show up at the worst time.
A structured menu template helps in practical ways.
- Builds client trust and a professional first impression.
- Speeds approvals by making choices simple.
- Reduces payment disputes by documenting totals and terms.
- Saves time by cutting back and forth.
That means fewer surprises for clients and fewer fire drills for you.
Get started with a designer welcome guide
A ready-made designer welcome guide gives you a faster way to create a polished onboarding experience without starting from scratch every time. With HoneyBook, you can shape the template around your style, your workflow, and the kind of first impression you want clients to have.
FAQs
Below are quick answers to common questions from caterers building a catering menu that clients can approve with confidence.
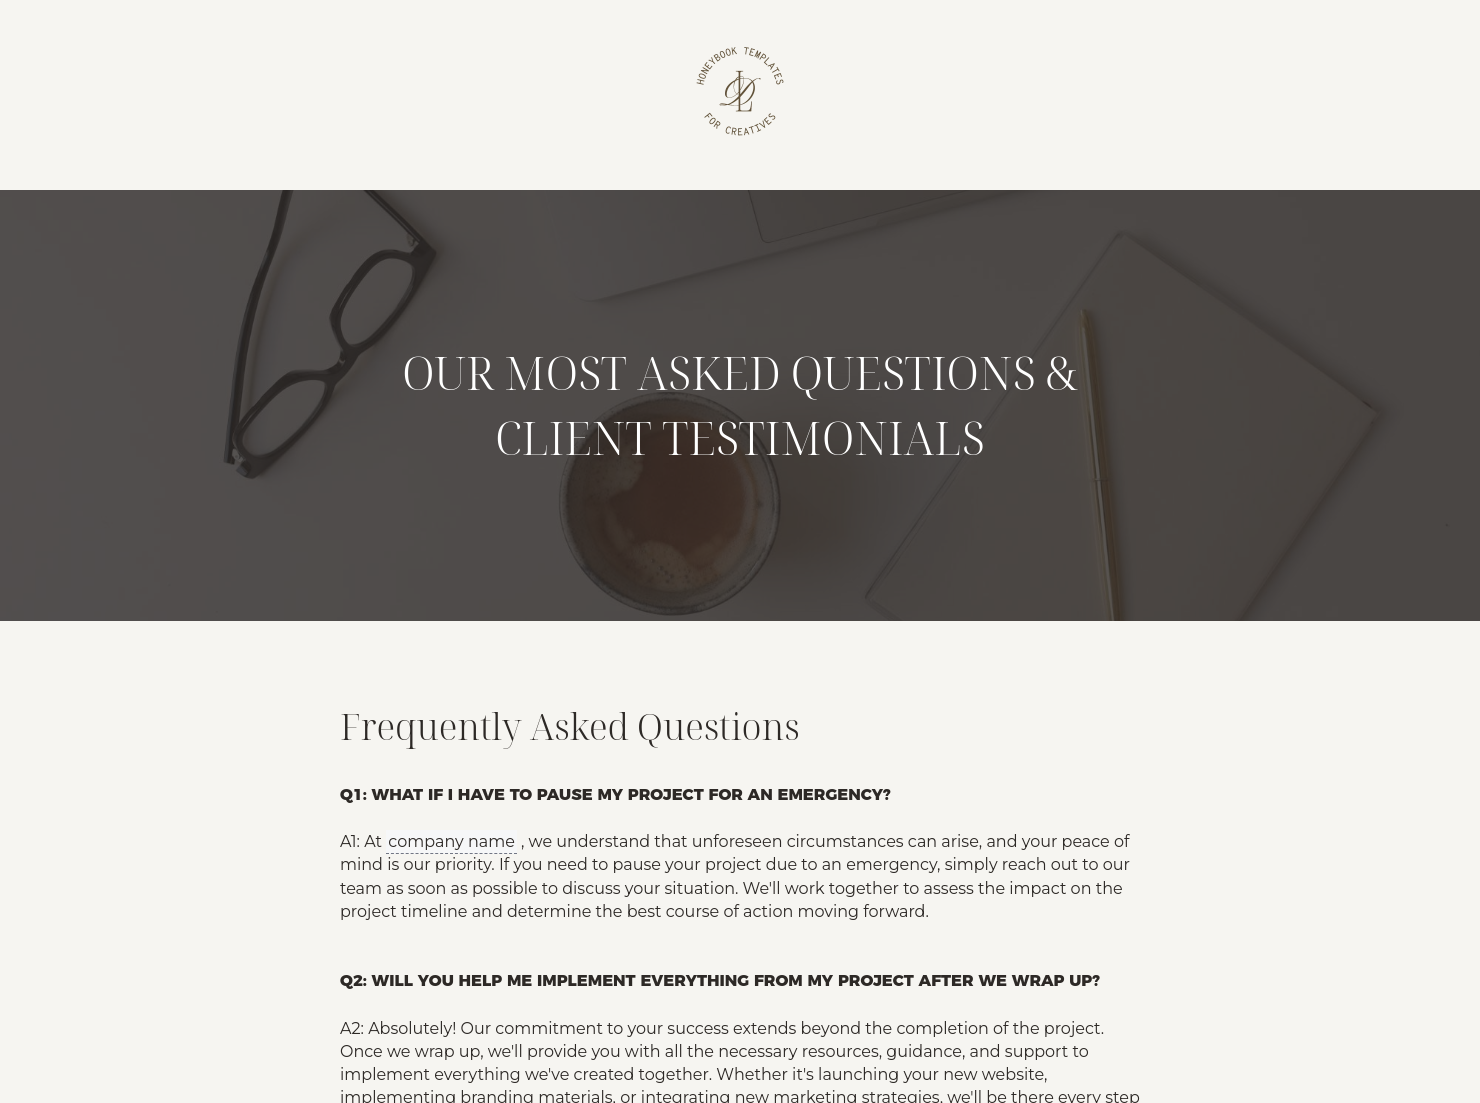
Start with contact details, project scope, intake questions, key dates, communication notes, revision details, next steps, and any payment or contract reminders tied to the project.
Send it after the client books and before kickoff. That gives clients a clear starting point and gives you a better chance of getting files, answers, and approvals on time.
We give you a saved structure you can use again and again for onboarding and client communication. That means less time rebuilding the same file and more time getting projects moving.
Yes. In HoneyBook, you can change the content, layout, images, and branding so the guide feels like a natural fit for your business.
Yes. That makes it easier for you to manage files and client communication when you are away from your desk.
Related templates
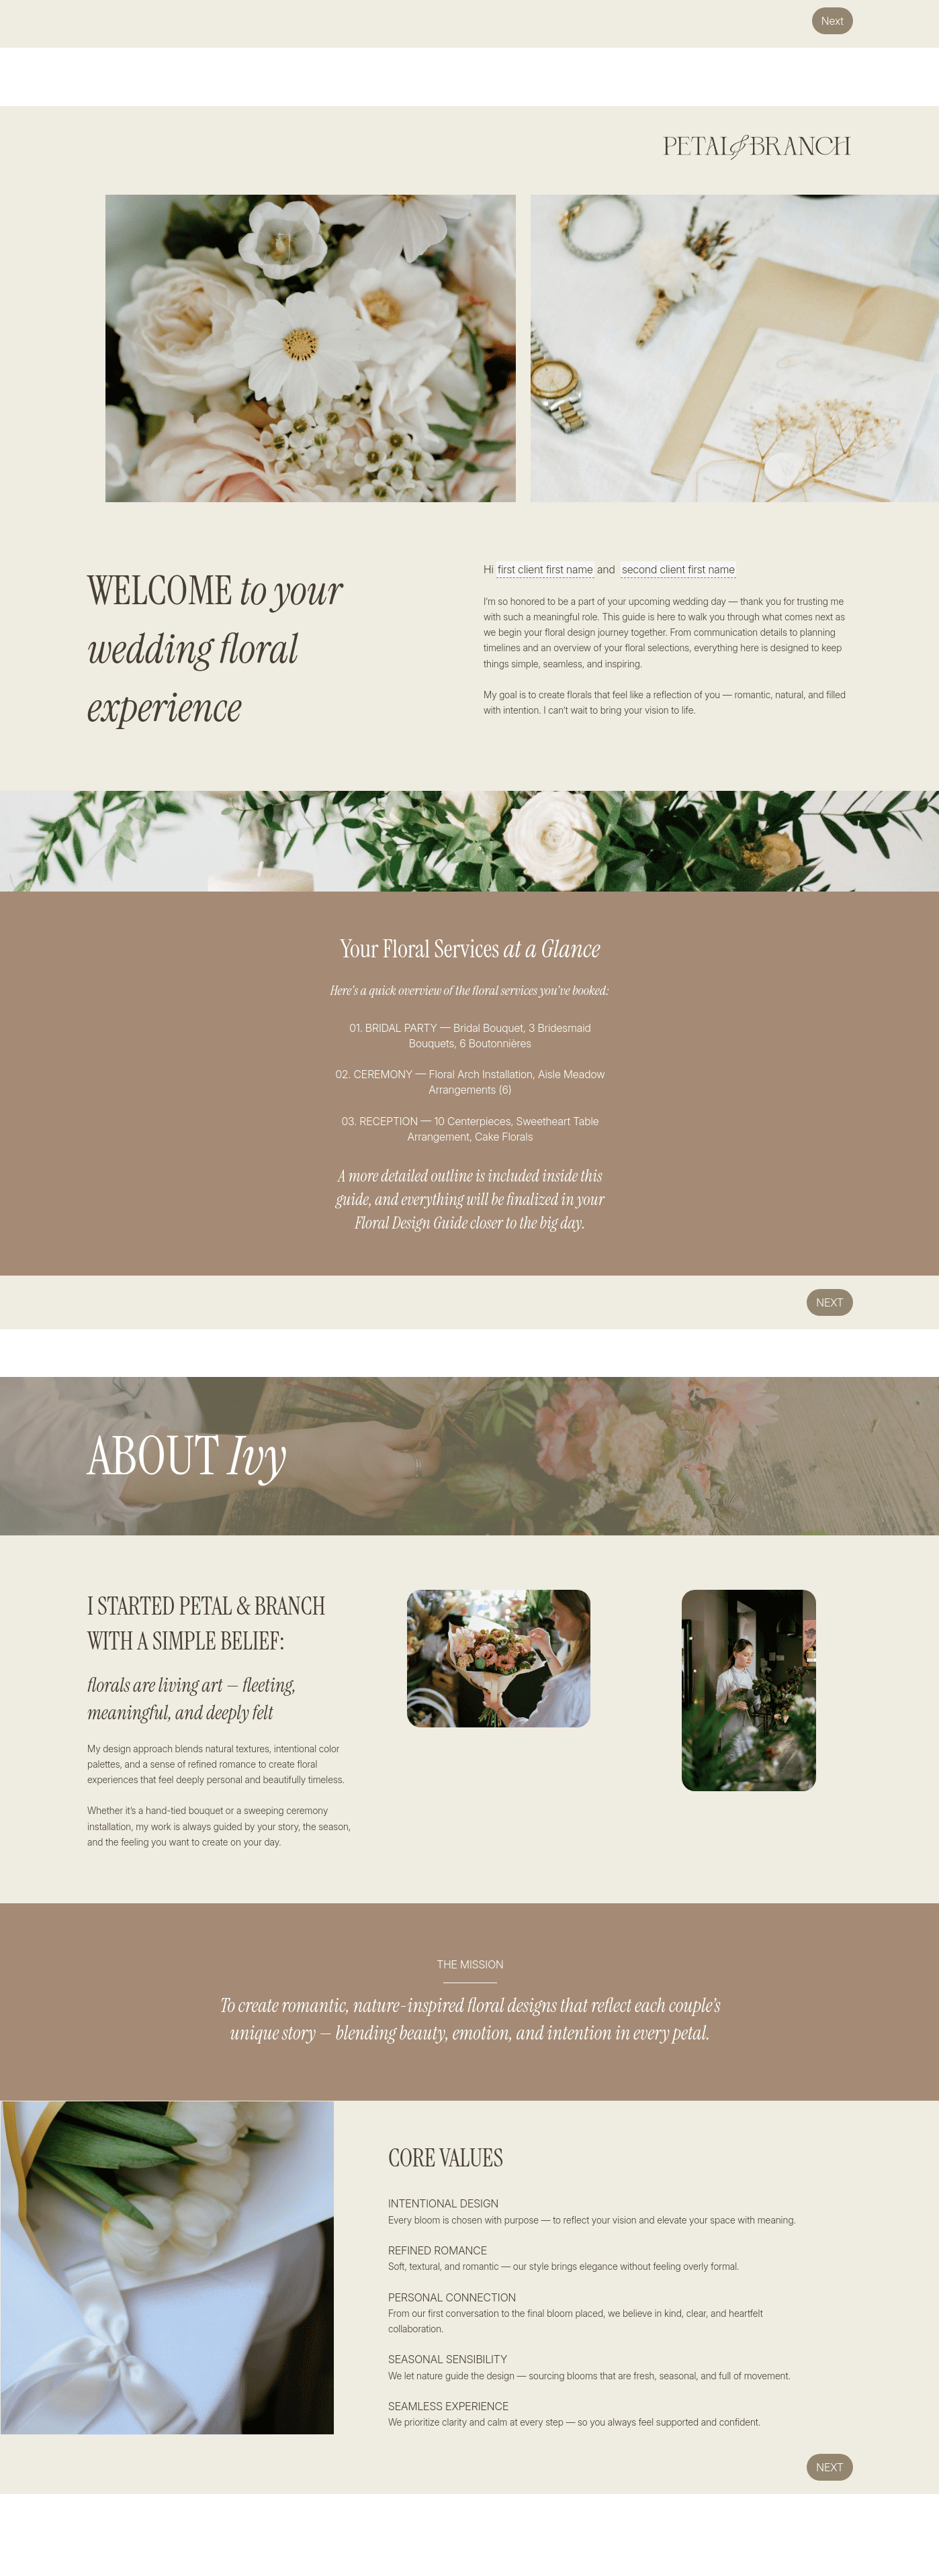
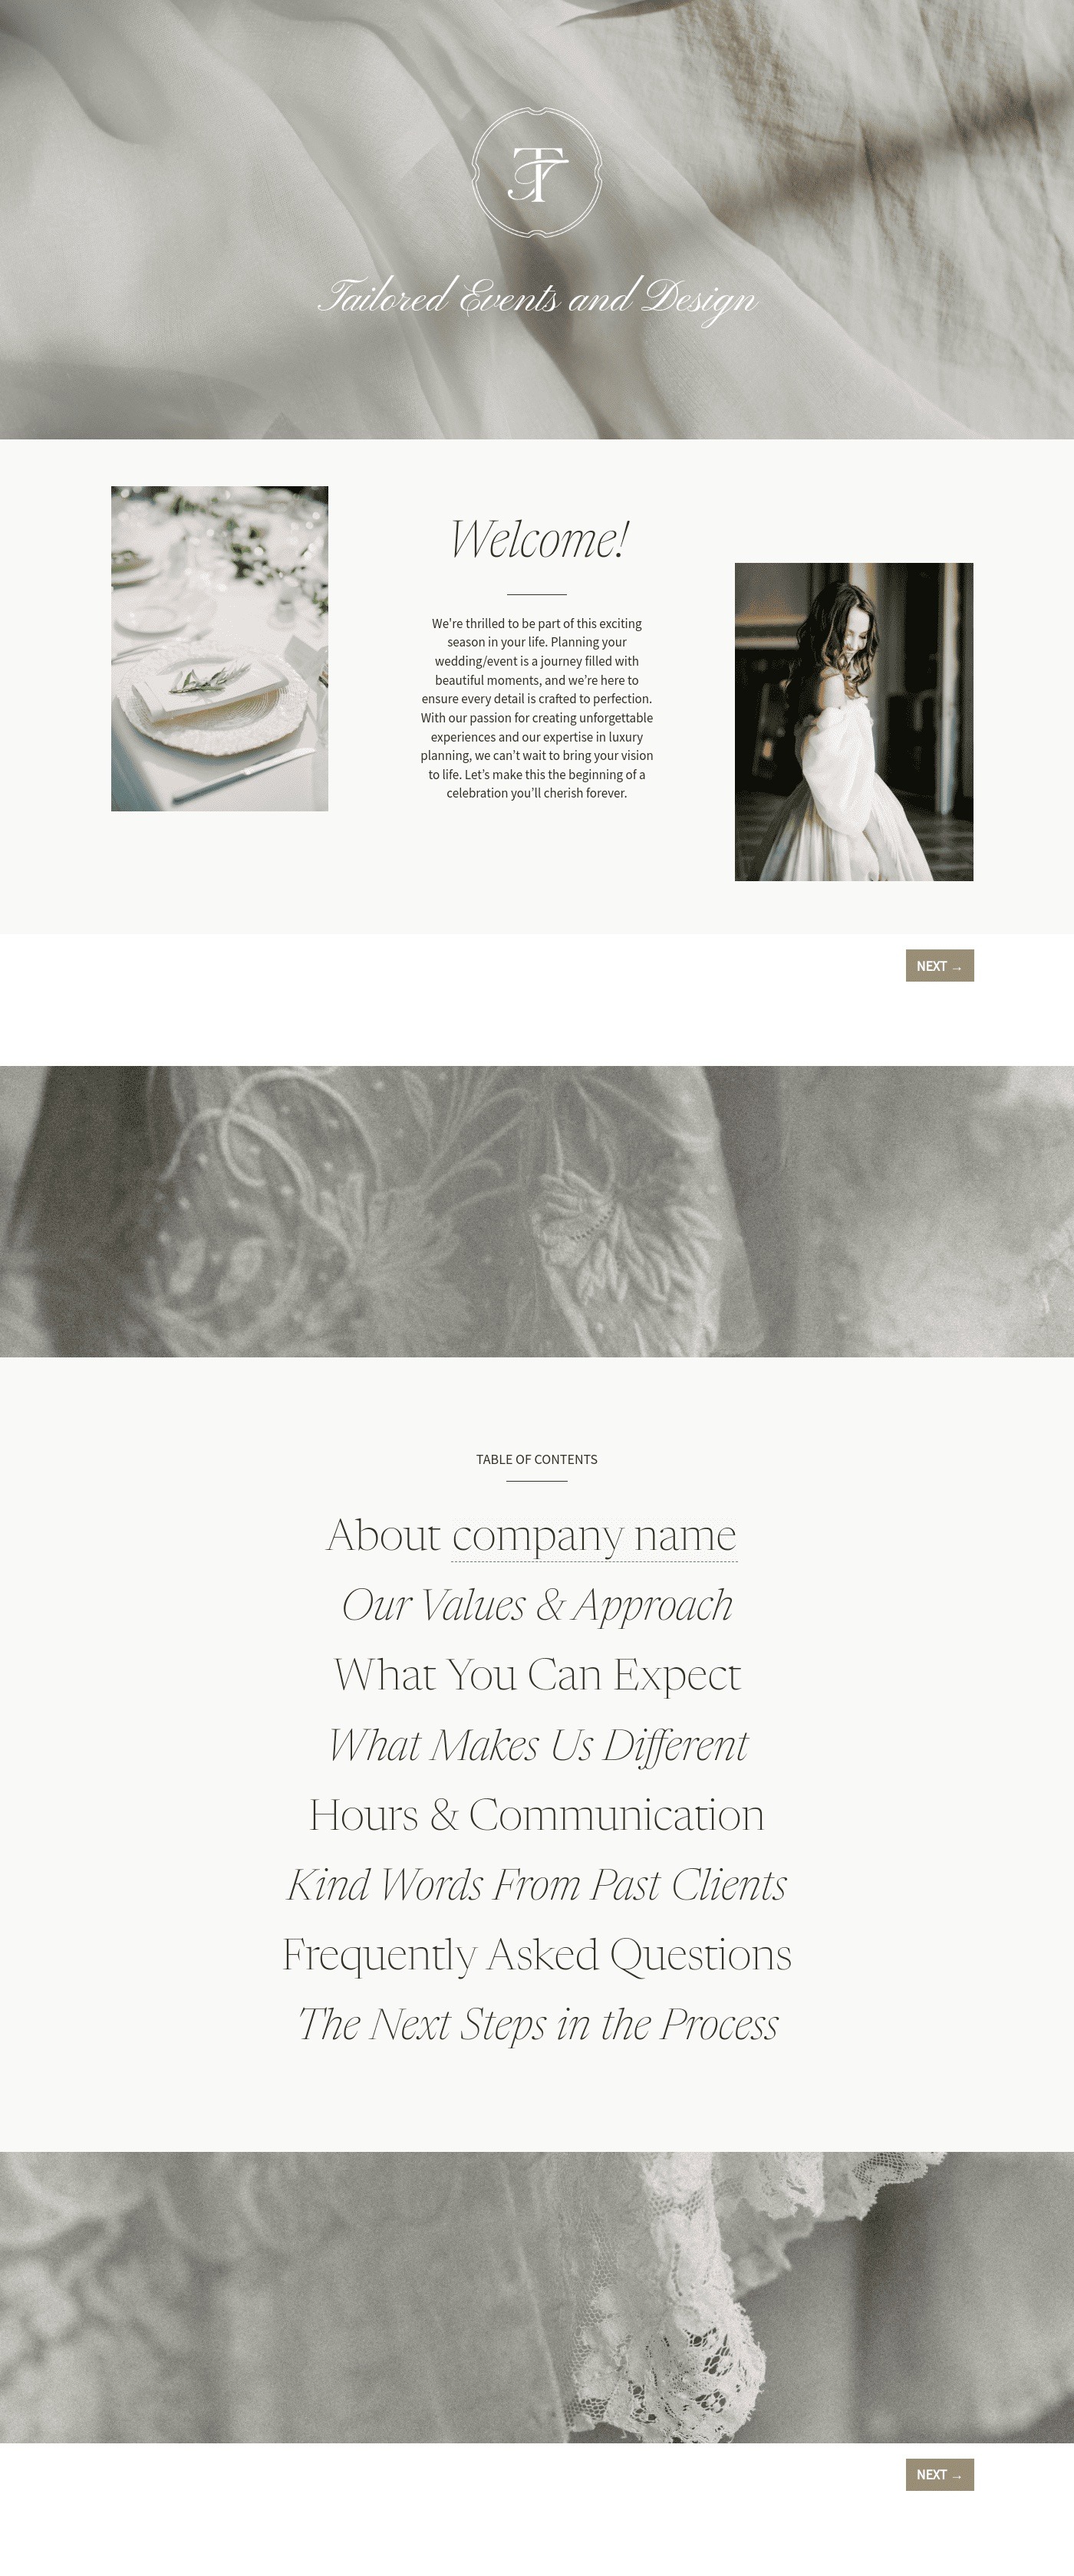
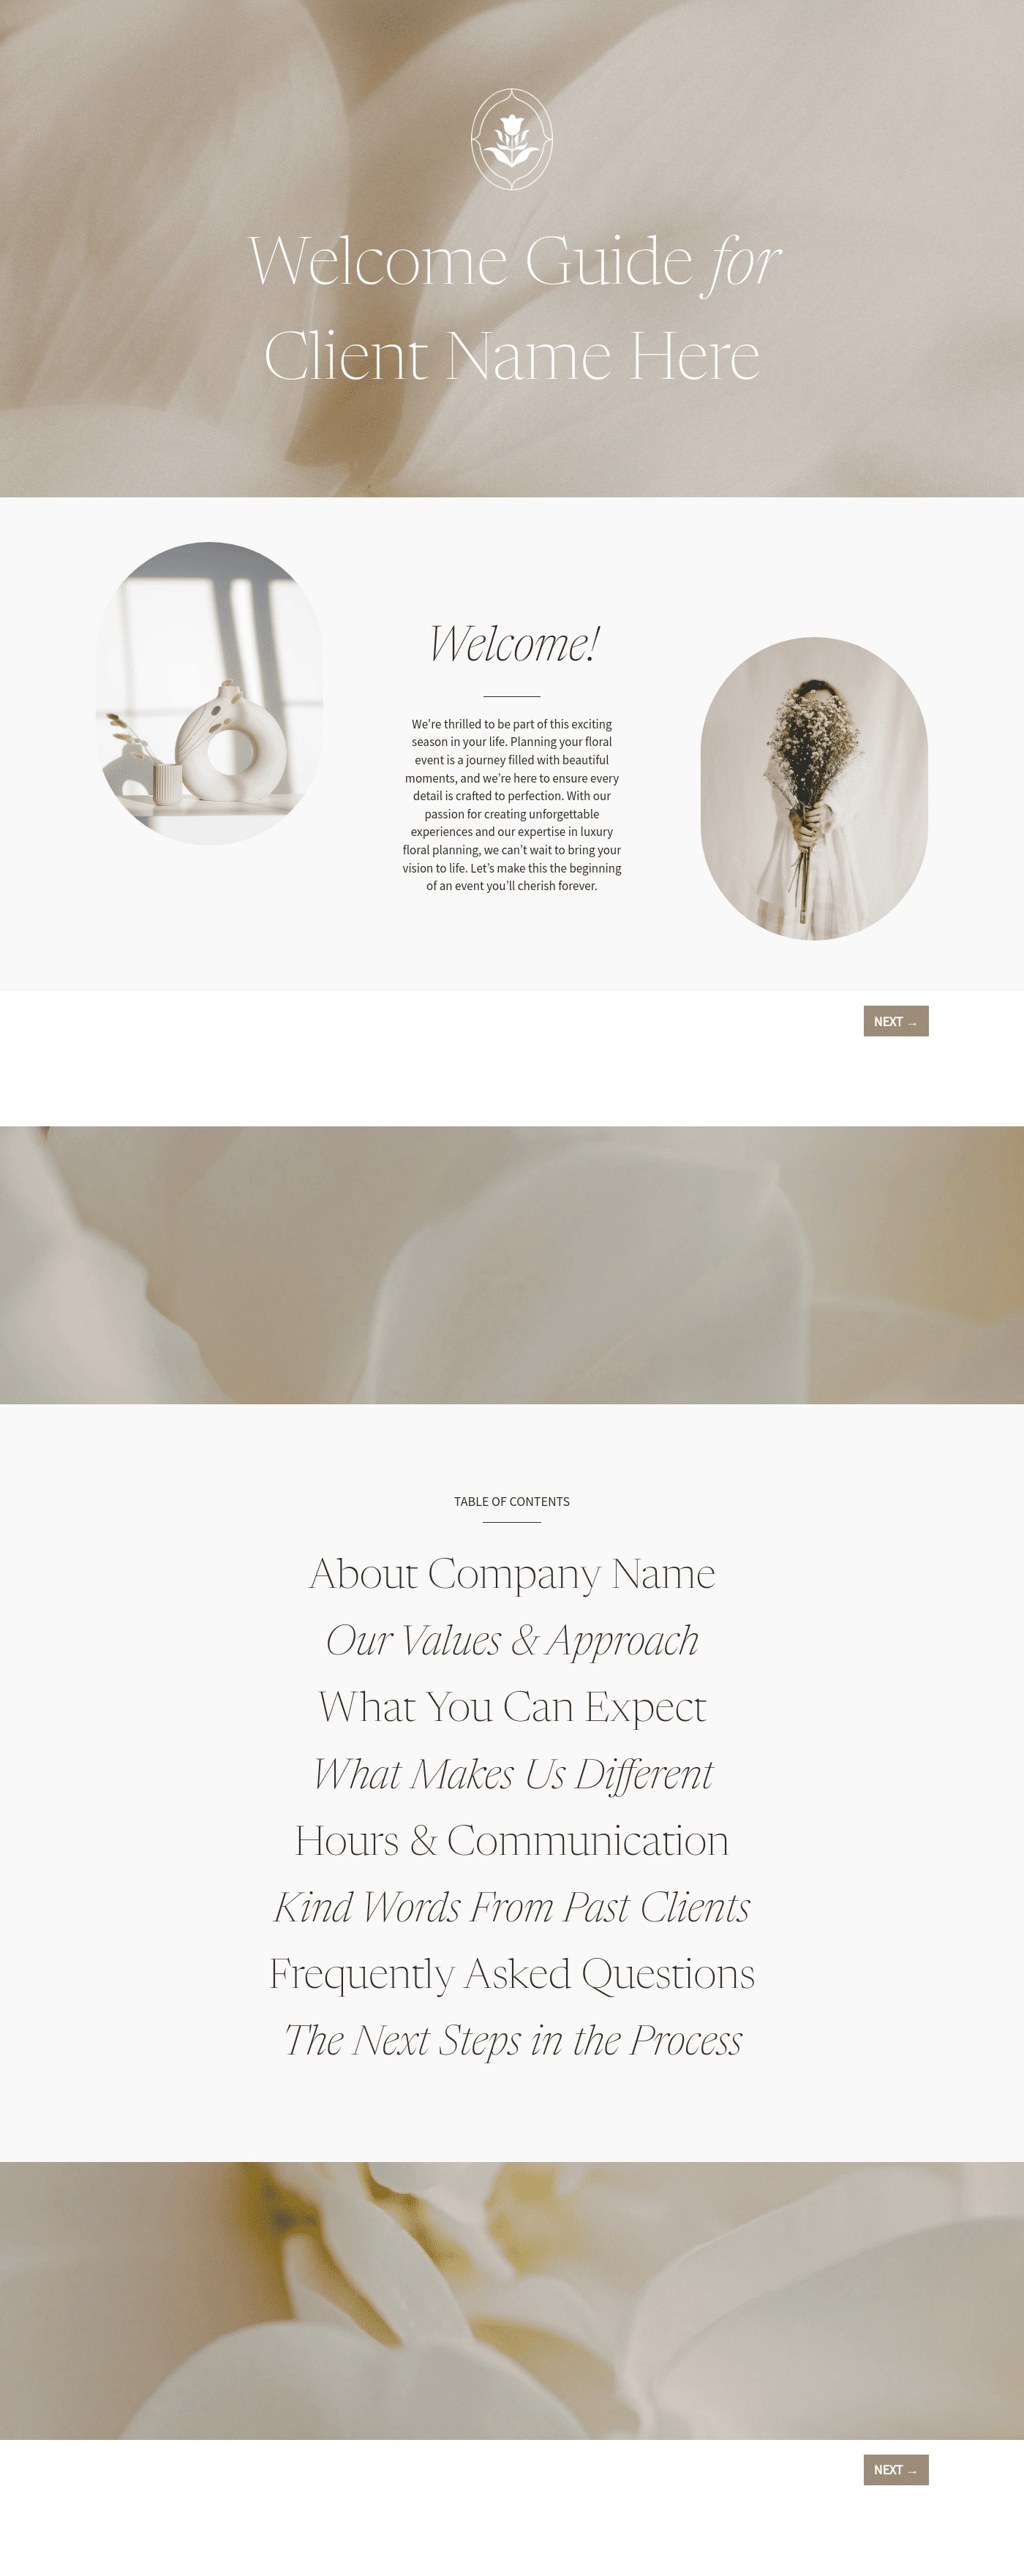

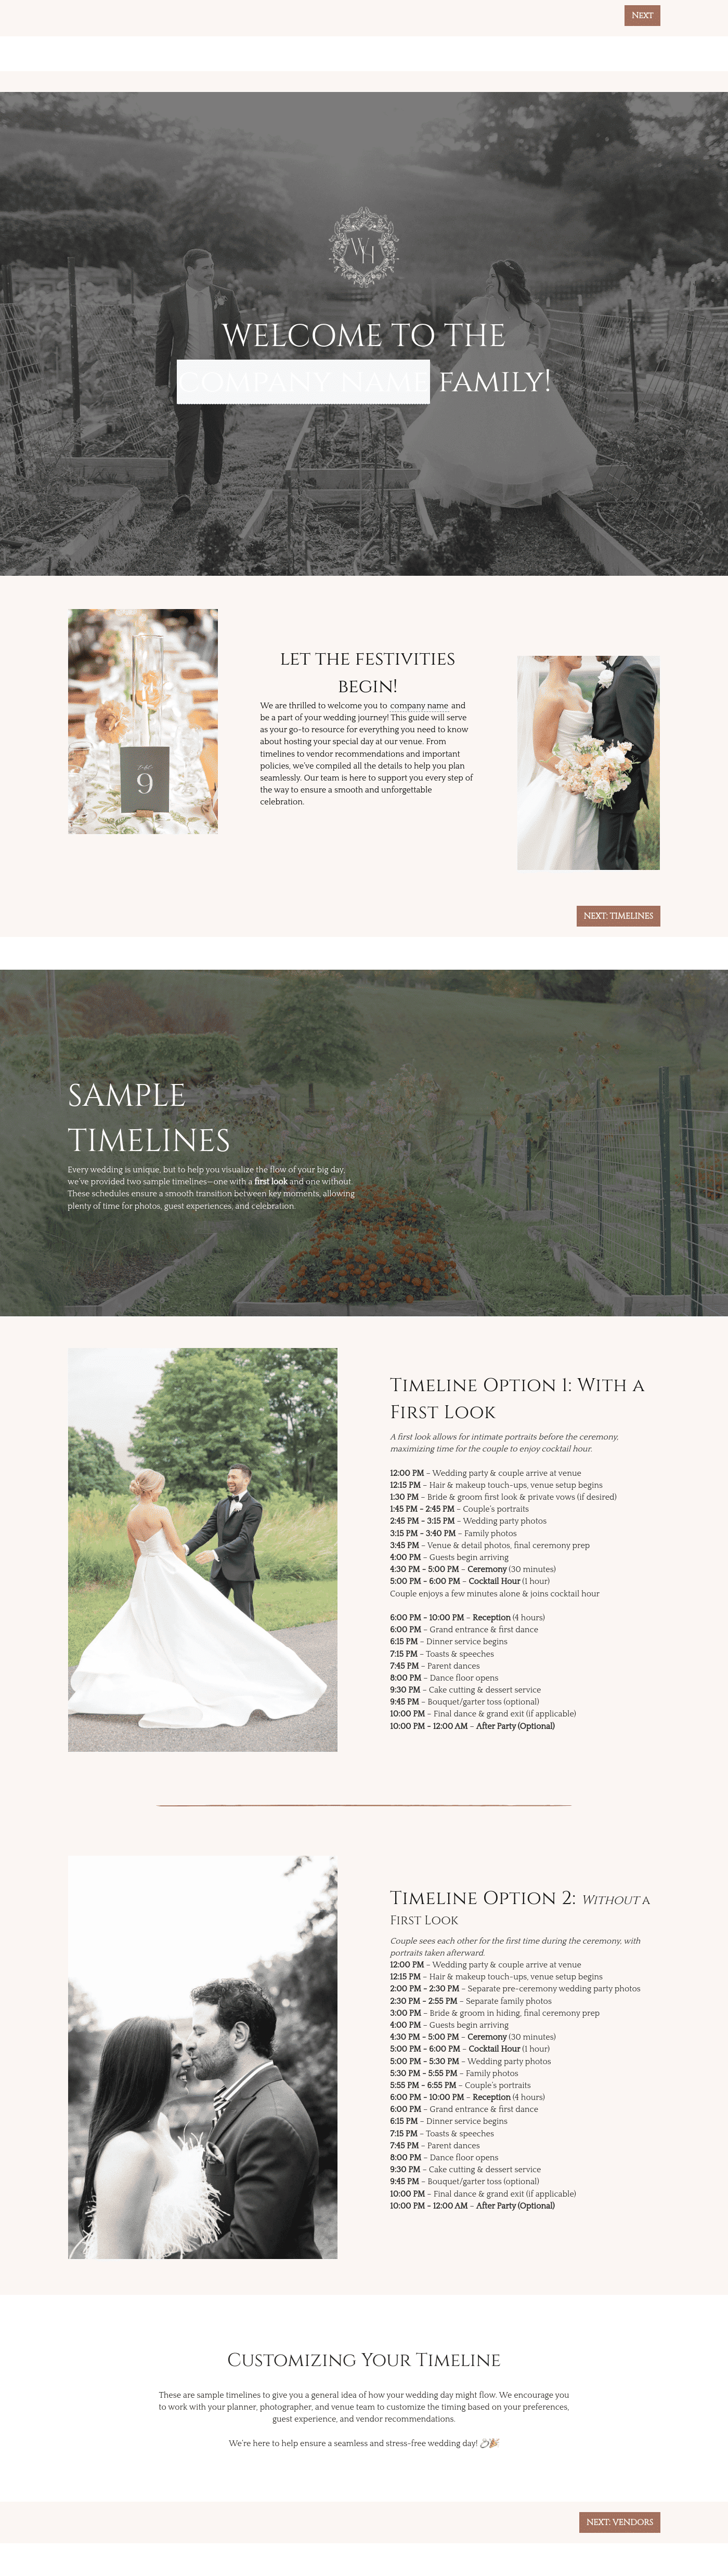


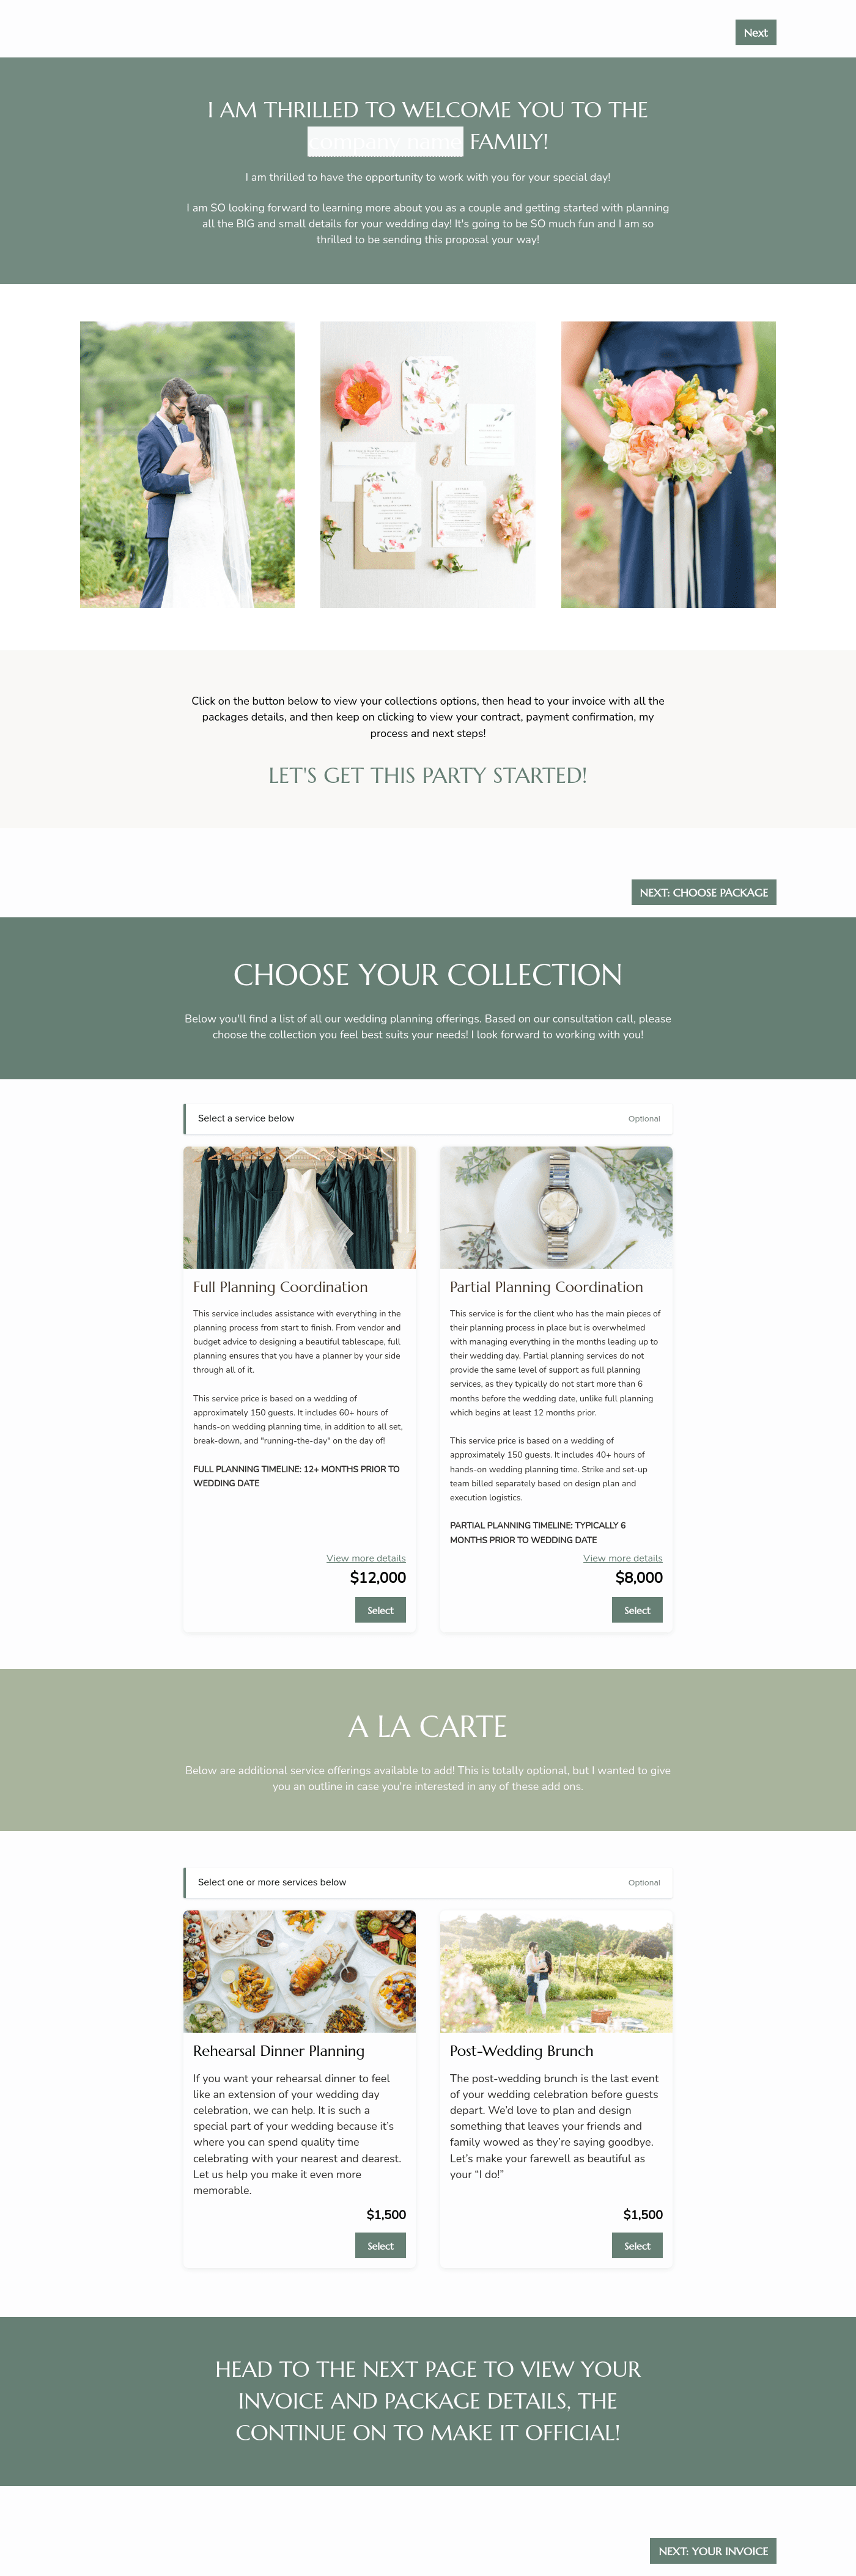

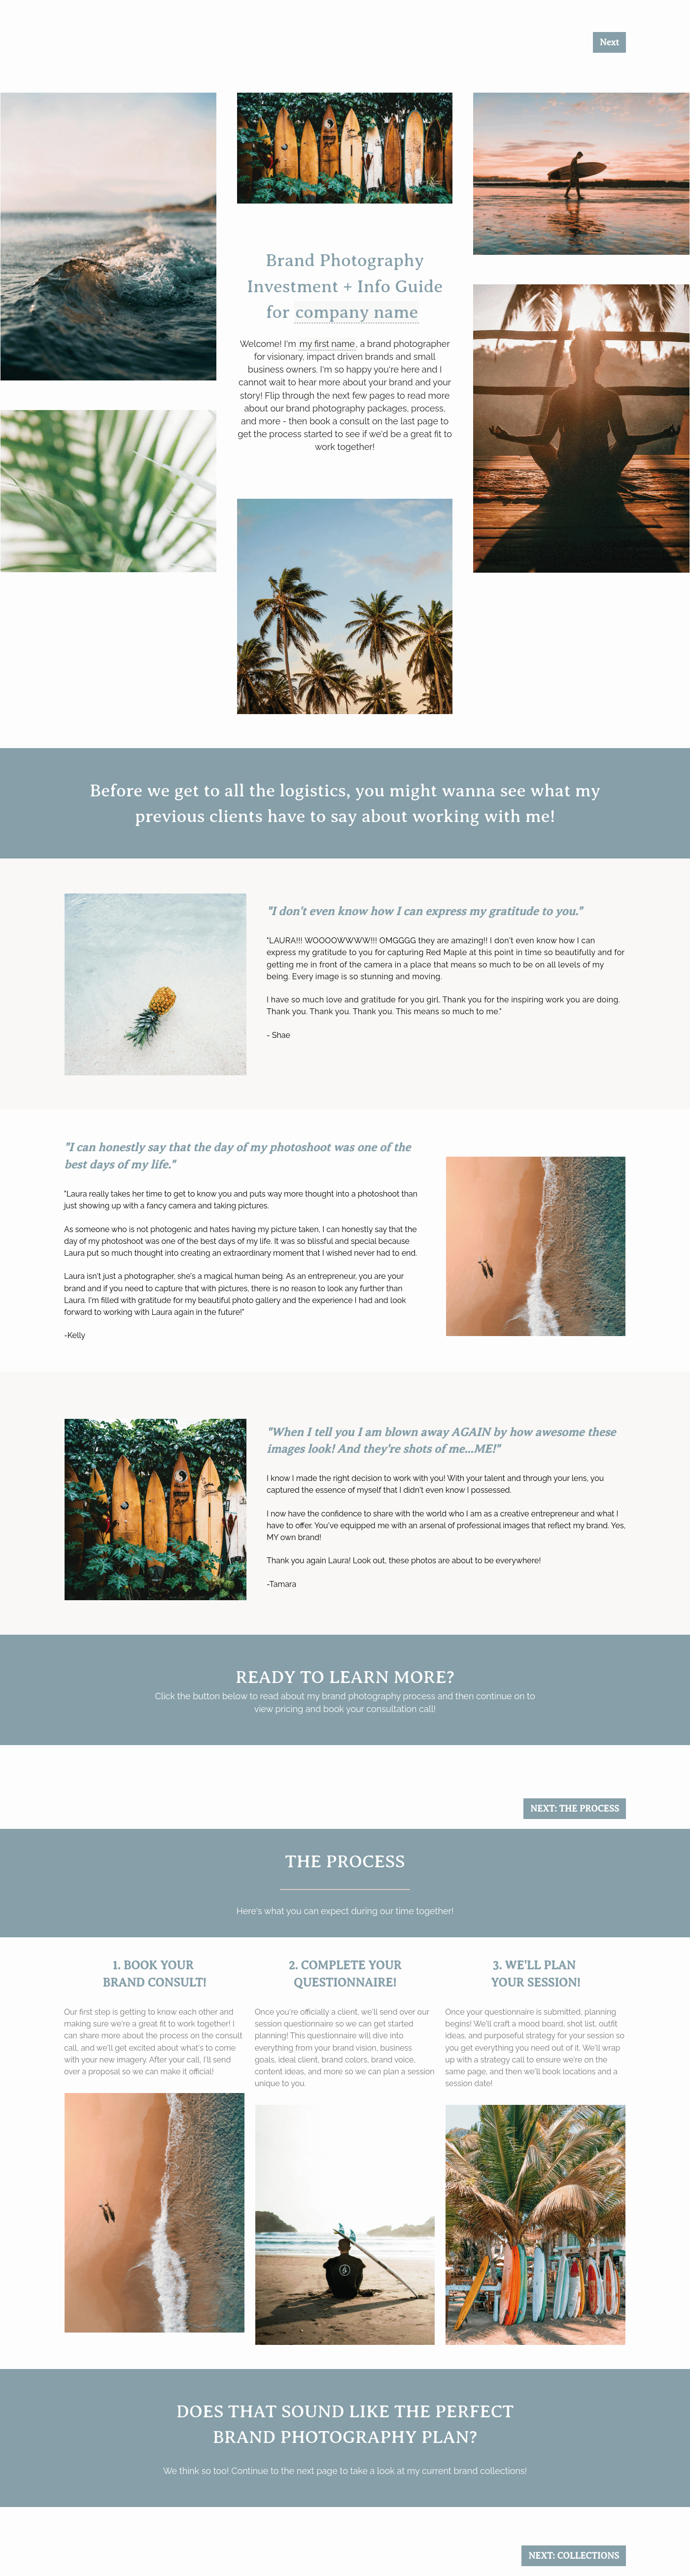
Related Templates
.avif)
.png)
.png)
.avif)
.png)
.png)


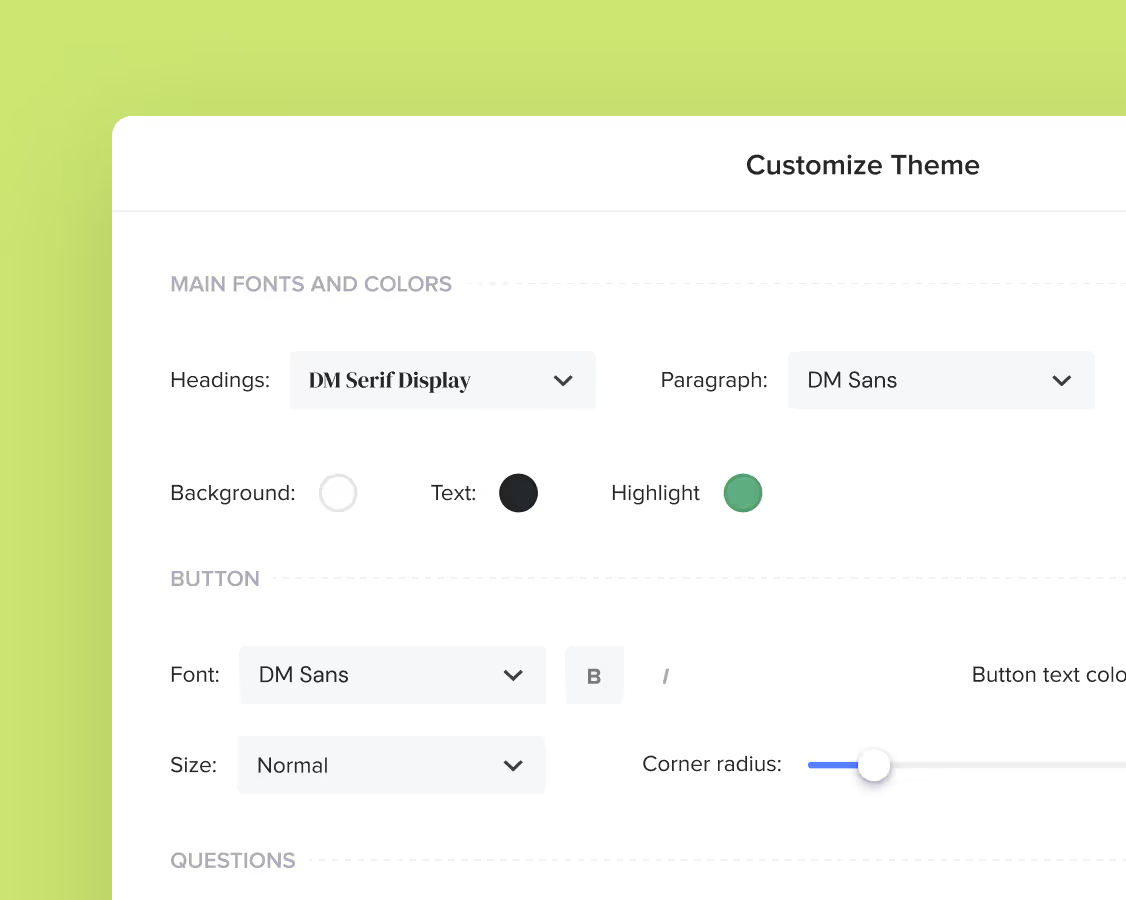
Make it your own
Fully customize the template to fit your needs. Quickly apply your company branding with just a few clicks.
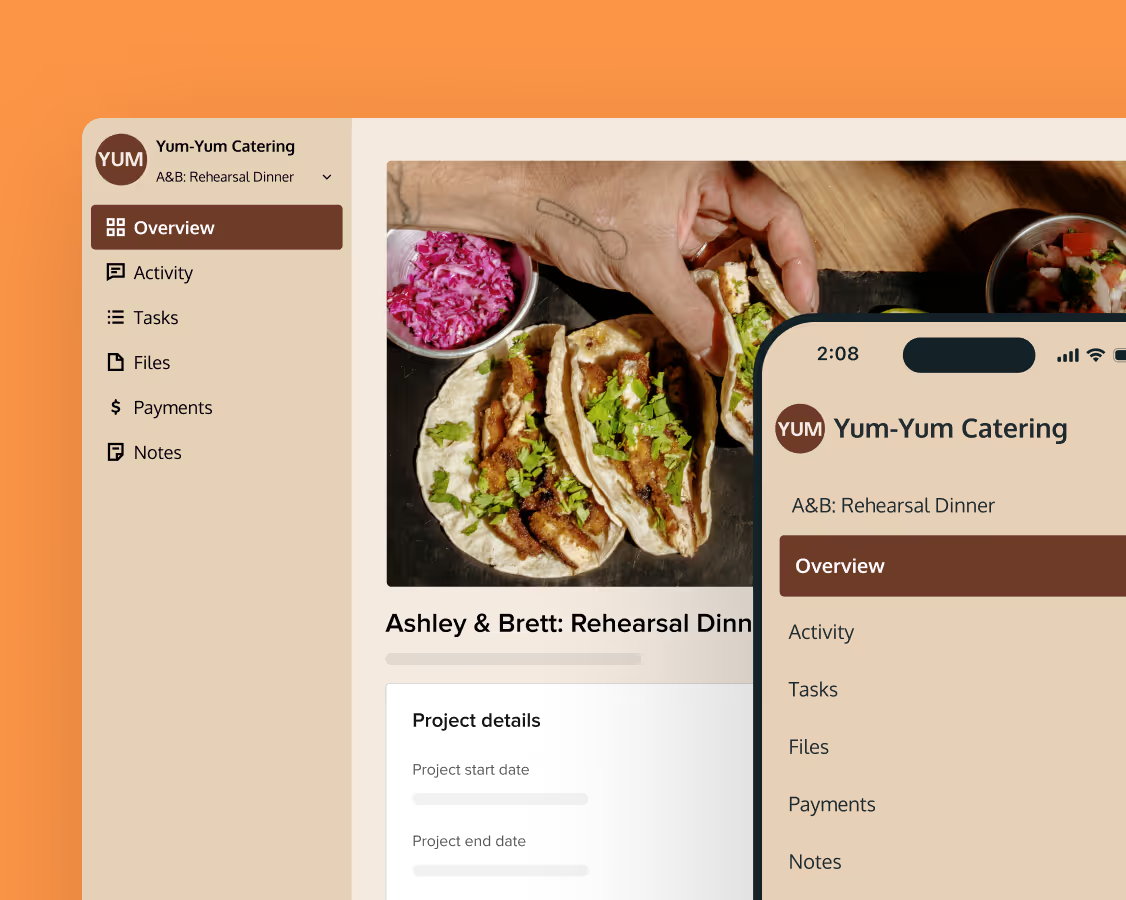
Share with clients
Create exceptional client experiences through HoneyBook’s dedicated client portal, allowing them to read, review, and take action from any device.
Reuse and scale
Use your customized files with different clients again and again to save time and make managing client interactions that much easier.
Join the 100,000+ businesses growing with HoneyBook.