


.jpeg)
Ready-to-use copy
Templates come filled with prewritten copy you can use as is or edit to match your brand and business.
“
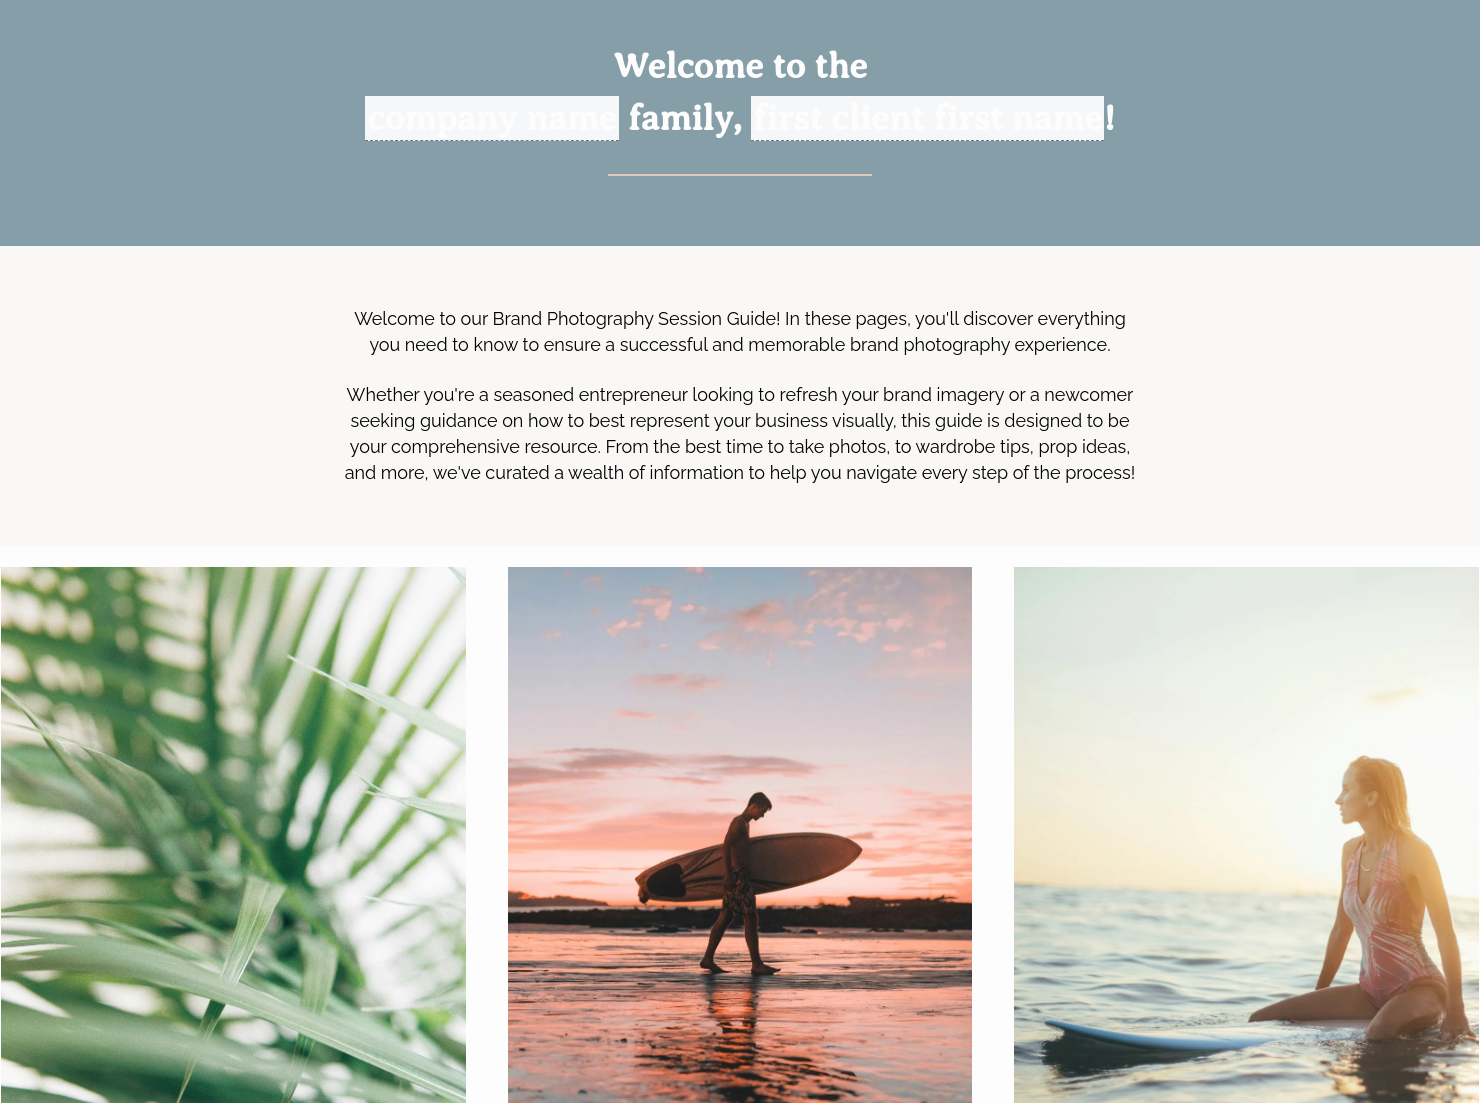
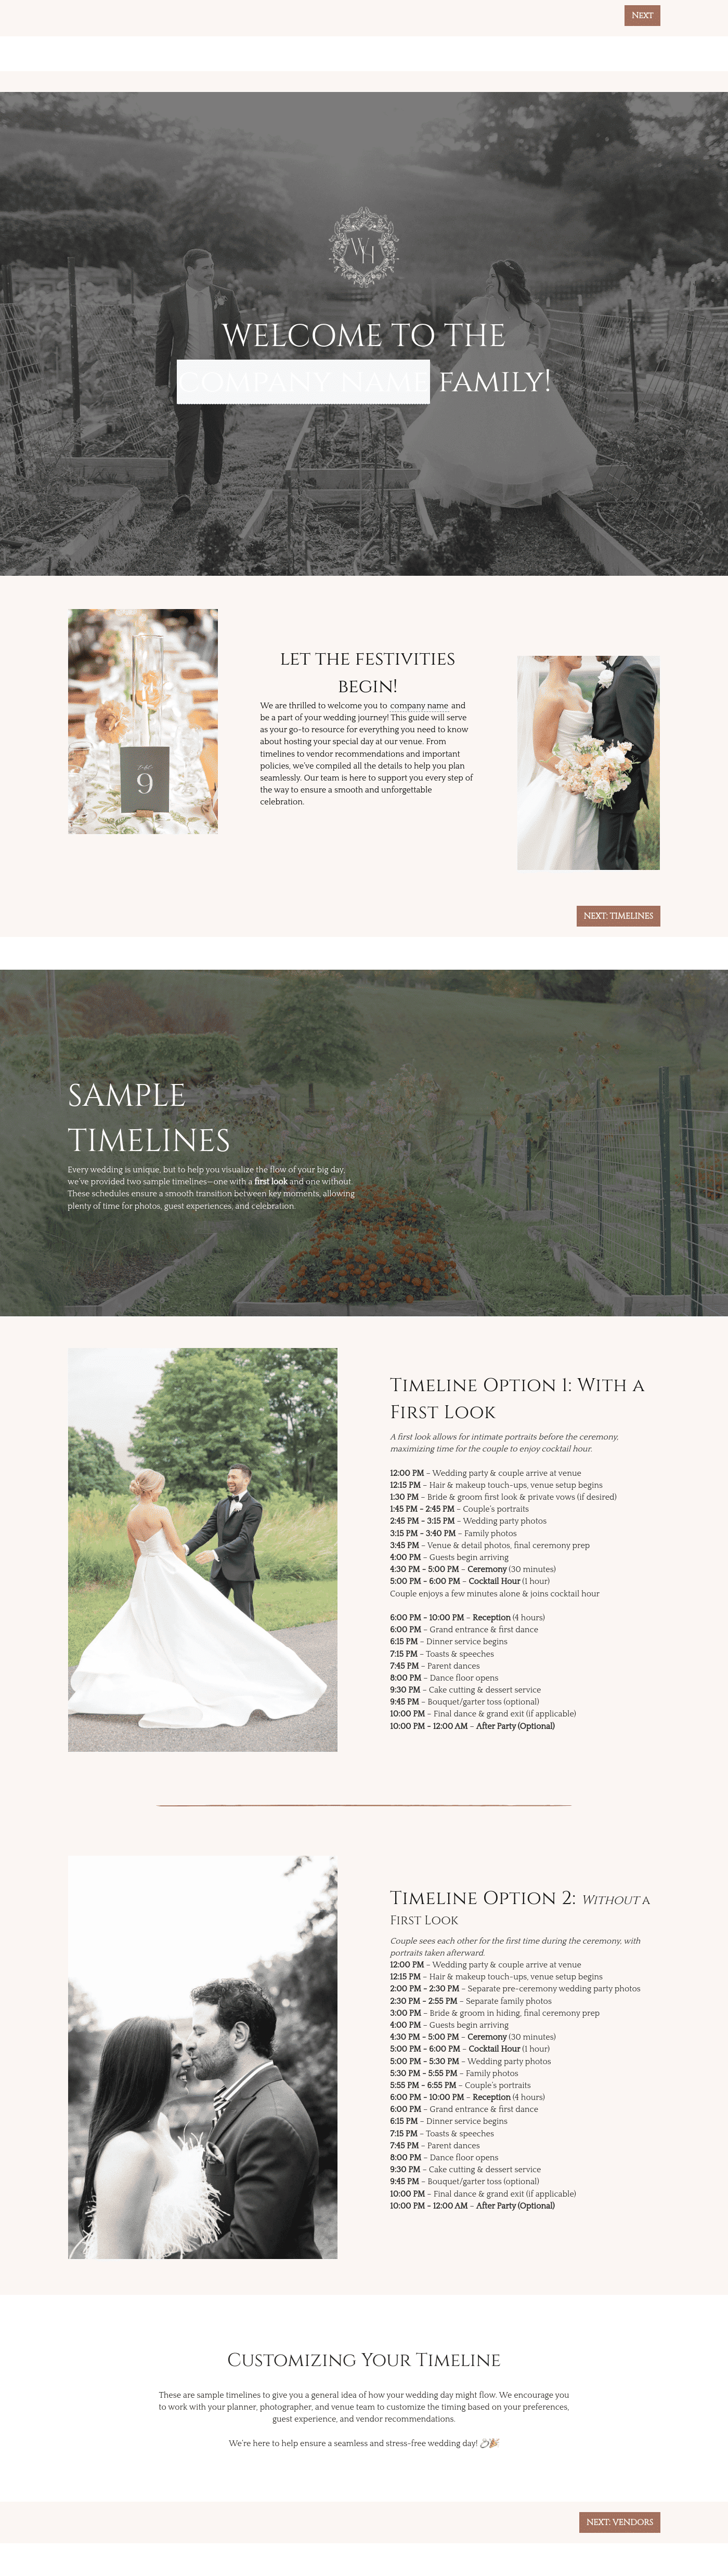
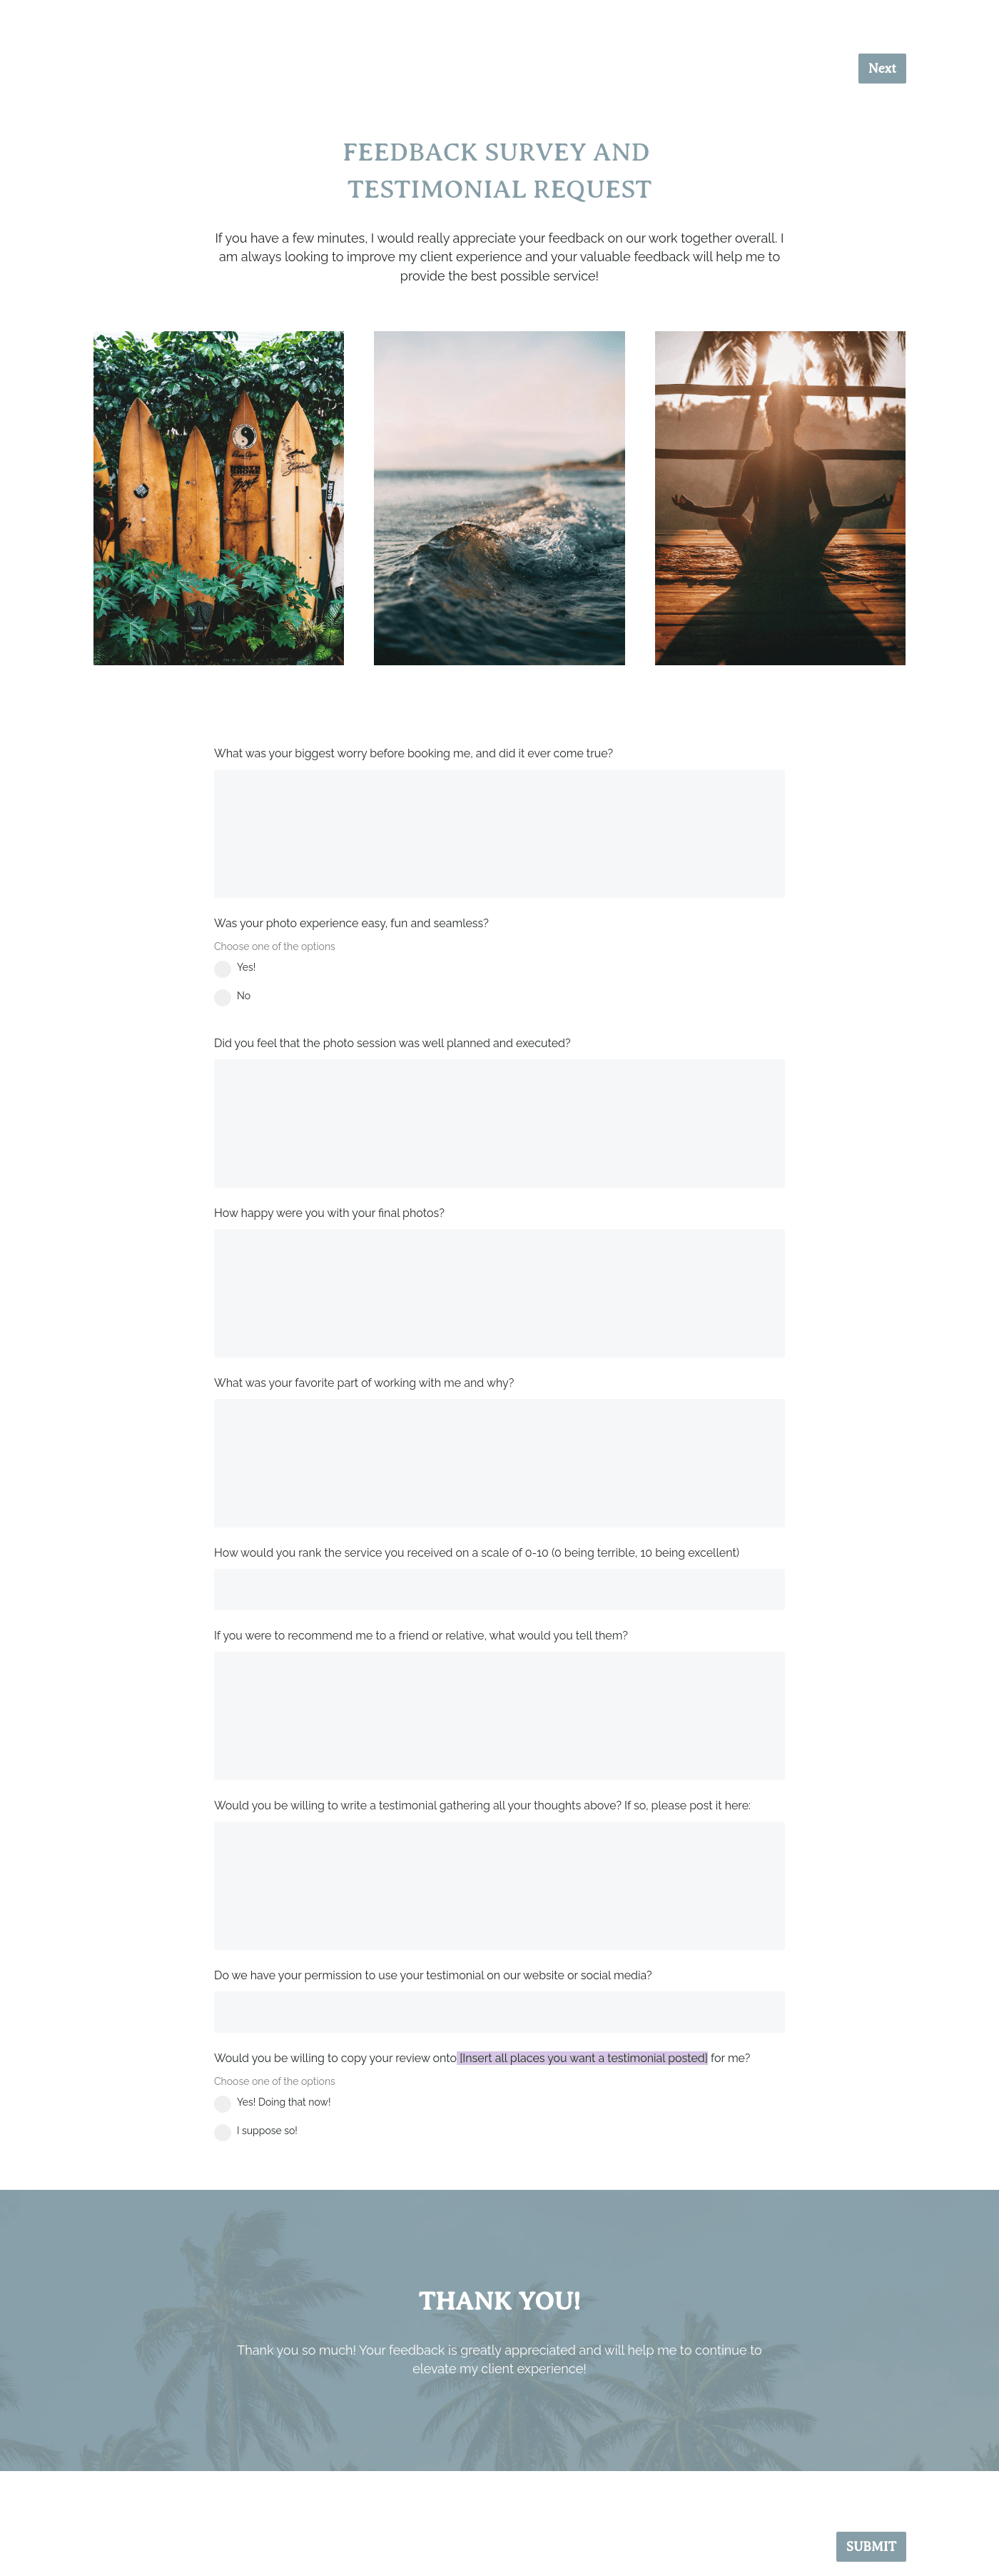
Get your clients excited and ready with this prep guide! Establish trust, set clear expectations and share essential tips before they step in front of the lens!
”
July 12, 2026
All there is to know about brand photography session prep guide templates
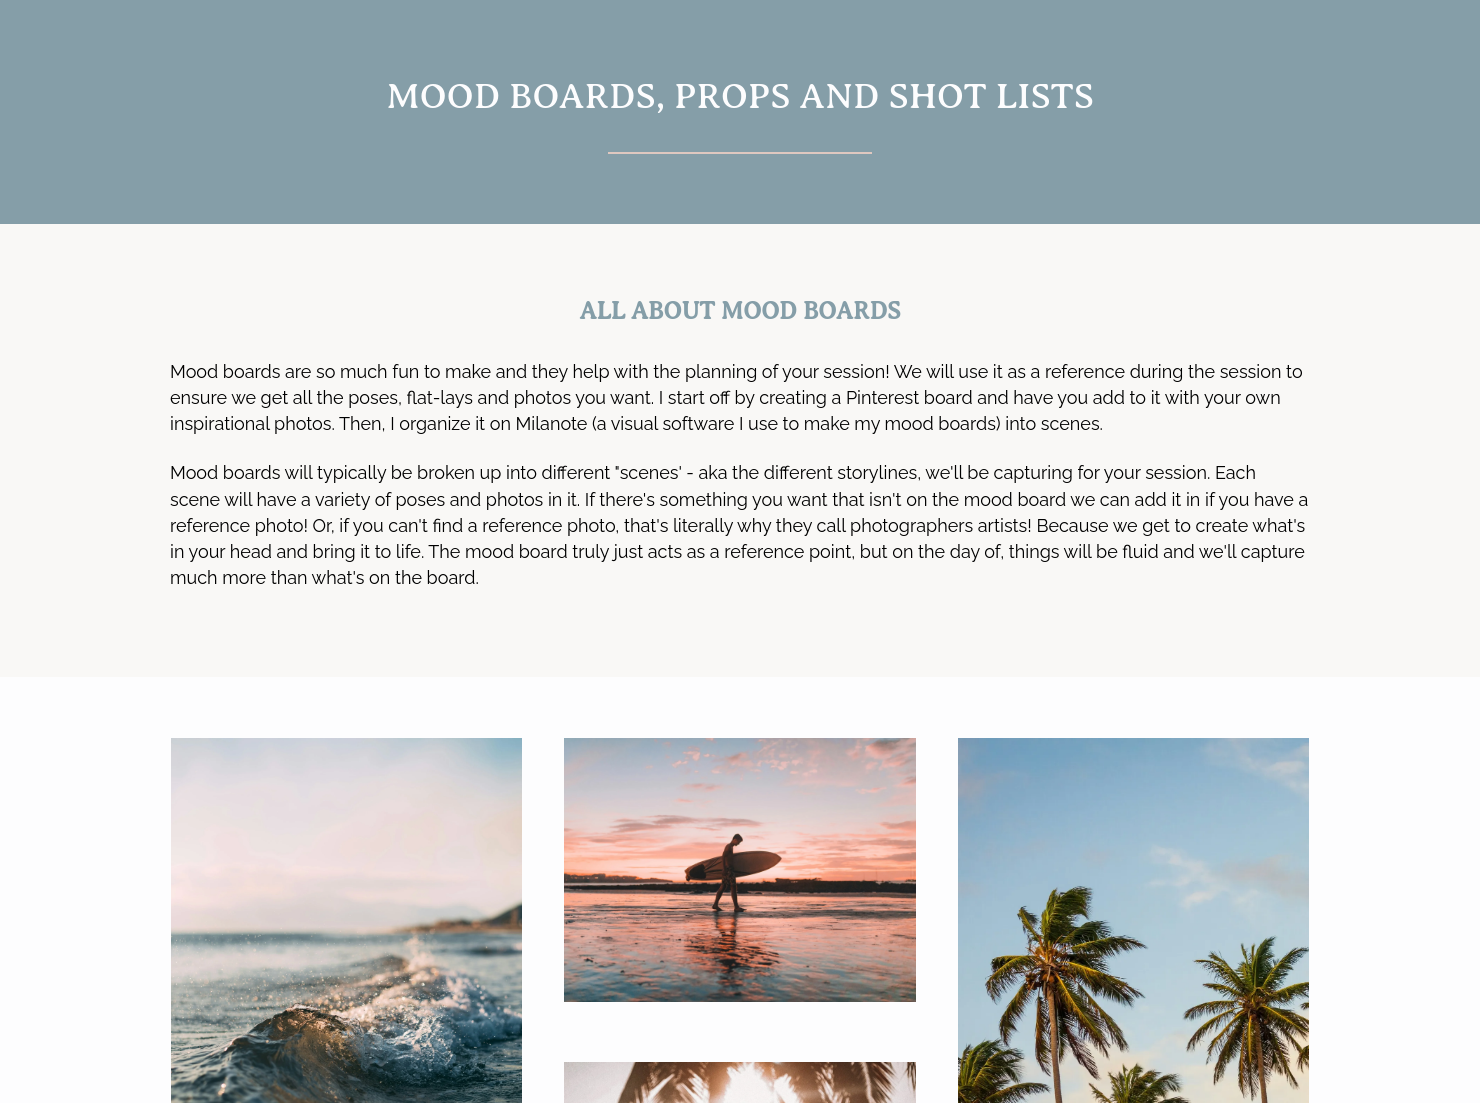
A brand photography session prep guide helps photographers prepare their clients for an upcoming shoot. HoneyBook makes it easy for photographers to create, customize, and send these prep guides in minutes once a session with a client is confirmed. You’ll typically include details like location, wardrobe guidance, shot list planning, and other information to help the shoot run smoothly.
A prep guide is one of the most important documents professional brand photographers use with their clients. It allows both parties to align expectations on what to expect and how to prepare for the shoot. It also serves as documentation for the scope of the provided service which can help clarify payment and resolve disputes.
If the shoot is successful and you help clients elevate their brand, they develop trust in you more and may bring more opportunities. Additionally, they become more likely to recommend you to others, helping you attract new clients.
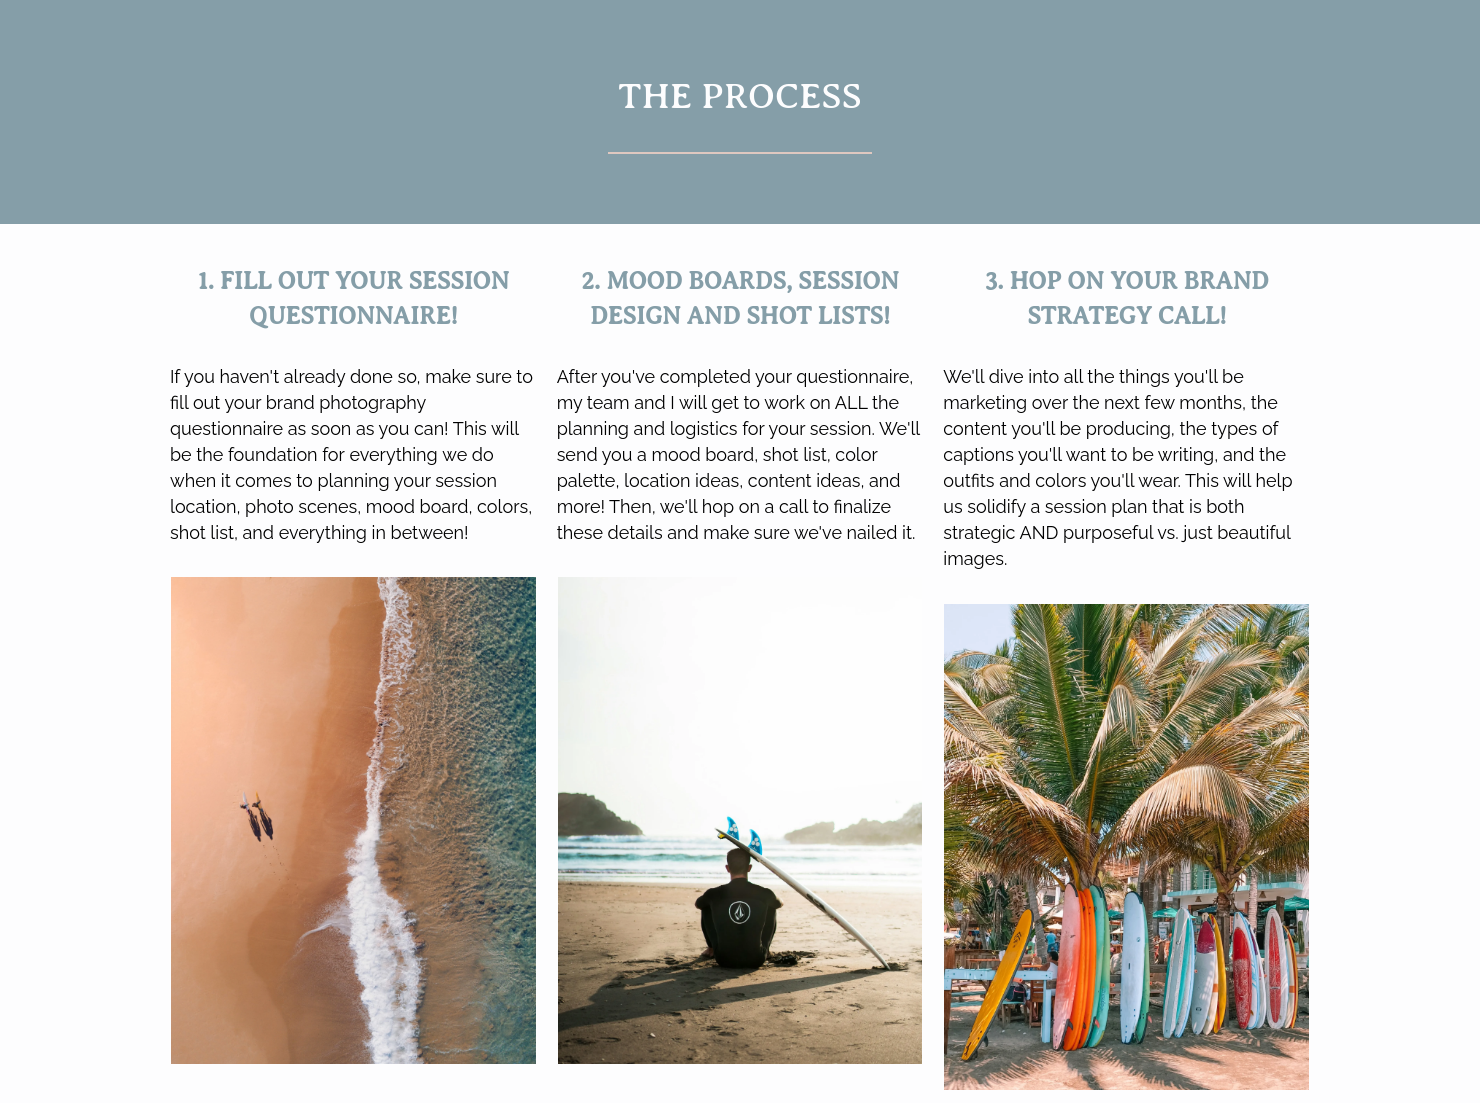
A good session prep guide should be clearly structured and include the following details:
- Client and session details: Capture the basics, including the client’s brand name, target audience, and the objective of the session.
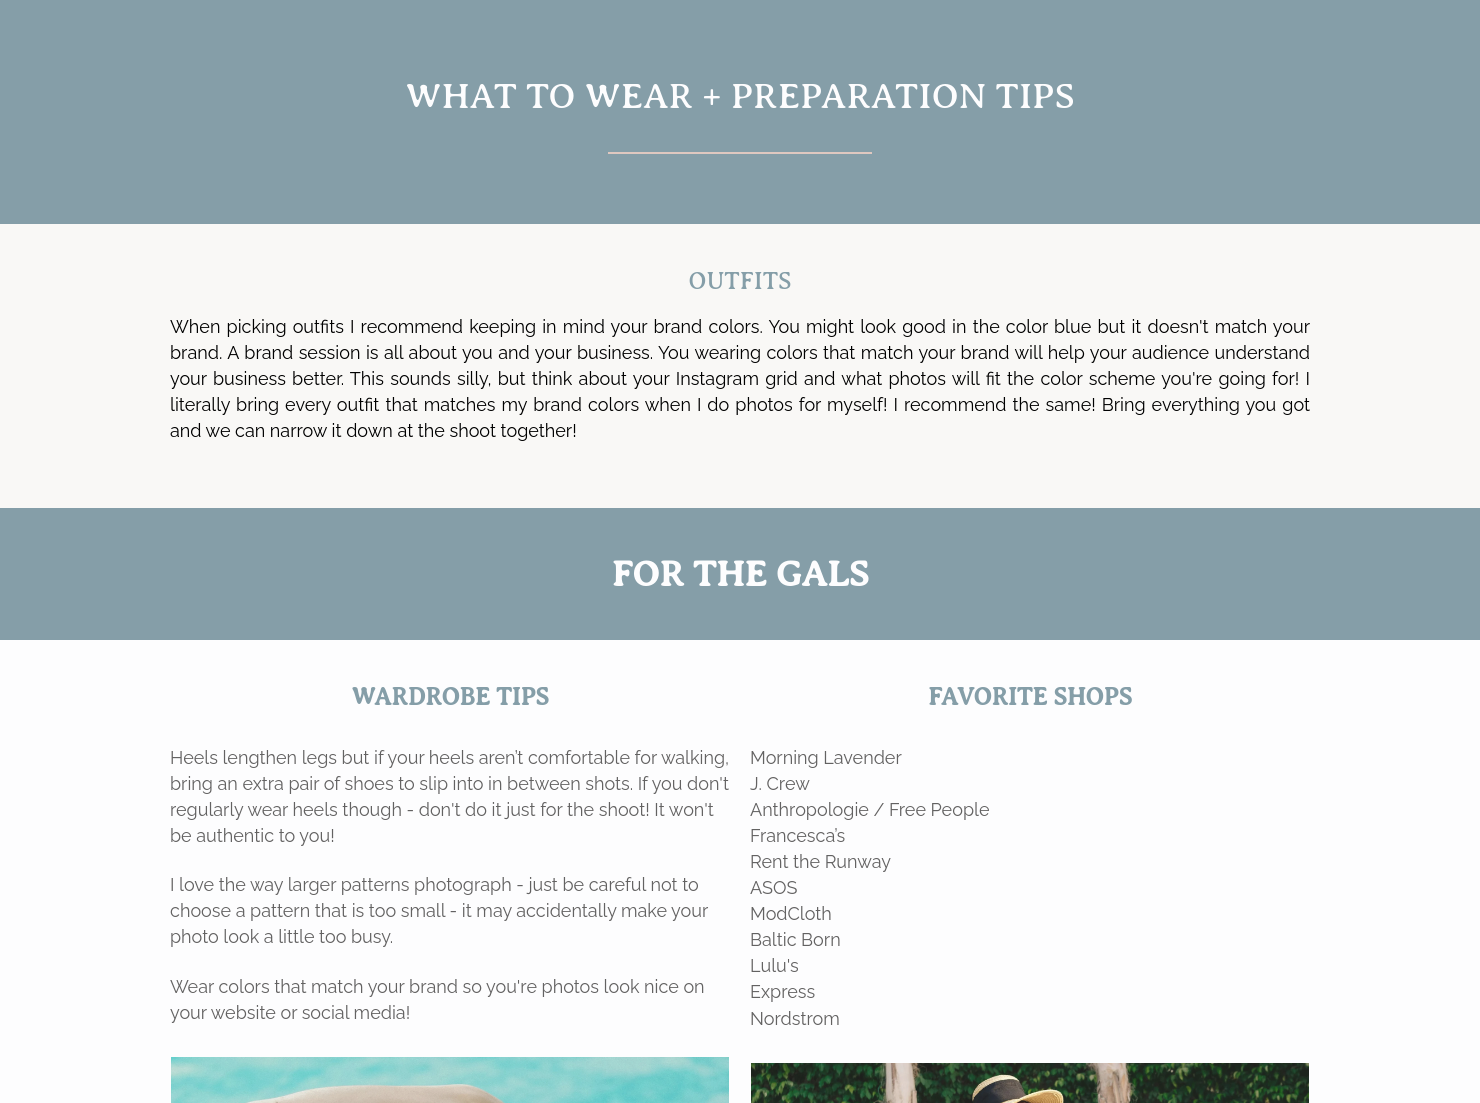
- Wardrobe guidance: Provide clear, actionable suggestions. For example:
- Neutral tones for corporate brands
- Bold colors for creative entrepreneurs
- Avoid busy patterns or large logos unless intentional
- Prop recommendations: Every brand photography session tells a story. Props should be based on industry, such as:
- Laptop, notebook, and coffee mug for consultants
- Tools or materials for artisans
- Packaging and products for eCommerce brands
- Location and logistics: Recommend locations that align with the brand’s identity. For example:
- Minimal studio for a clean, modern brand
- Outdoor café for lifestyle brands
- Office space for corporate professionals
- Shot list planning: Provide details on sample shots like:
- Working at a desk (wide + close-up)
- Behind-the-scenes process shots
- Lifestyle portraits interacting with props
- Detail shots of tools, hands, or products
- Social media “talking to camera” frames
- Brand messaging: Explain how the visuals will reflect the brand. For instance:
- “We’re aiming for a warm, approachable tone with natural lighting”
- “Images should communicate authority and professionalism”
- Shoot timeline: Break it down clearly:
- Arrival & setup (30 mins)
- Look 1 (45 mins)
- Break (10 mins)
- Look 2 (45 mins)
- Style tips: Here are ways you can phrase this:
- Steam clothes beforehand
- Bring backup outfits
- Keep accessories minimal
- Image usage: Specify where content will be used:
- Website banners
- Instagram posts
- LinkedIn profile updates
- Marketing campaigns
With HoneyBook templates, you can save this structure once and reuse it for every client while adjusting only the specifics.
As a brand photographer working with different brands across multiple industries, it is important to personalize every session prep guide based on your client’s industry. Set clear expectations right from the onset and try to close any communication gaps.
You can achieve this by providing clear instructions on the actionable steps that your clients should take for a successful shoot rather than general advice. Cutomize the prep guide to reflect your brand voice while still working towards meeting the client's objectives.
Brand photography session prep guide templates are designed for you as a brand photographer to save time and remain consistent. This way, you can work with numerous clients simultaneously regardless of their industries.
For example, HoneyBook provides templates to manage your clients, projects, and payments all in one place, allowing automation in your workflow and keeping you organized. Here are the times when a session prep guide template is most useful:
- After contract signing
- Before finalizing the shot list and
- During the onboarding phase
Catering has a lot of moving parts, and the menu sits in the center. If your catering menu is scattered across emails, texts, and screenshots, mistakes show up at the worst time.
A structured menu template helps in practical ways.
- Builds client trust and a professional first impression.
- Speeds approvals by making choices simple.
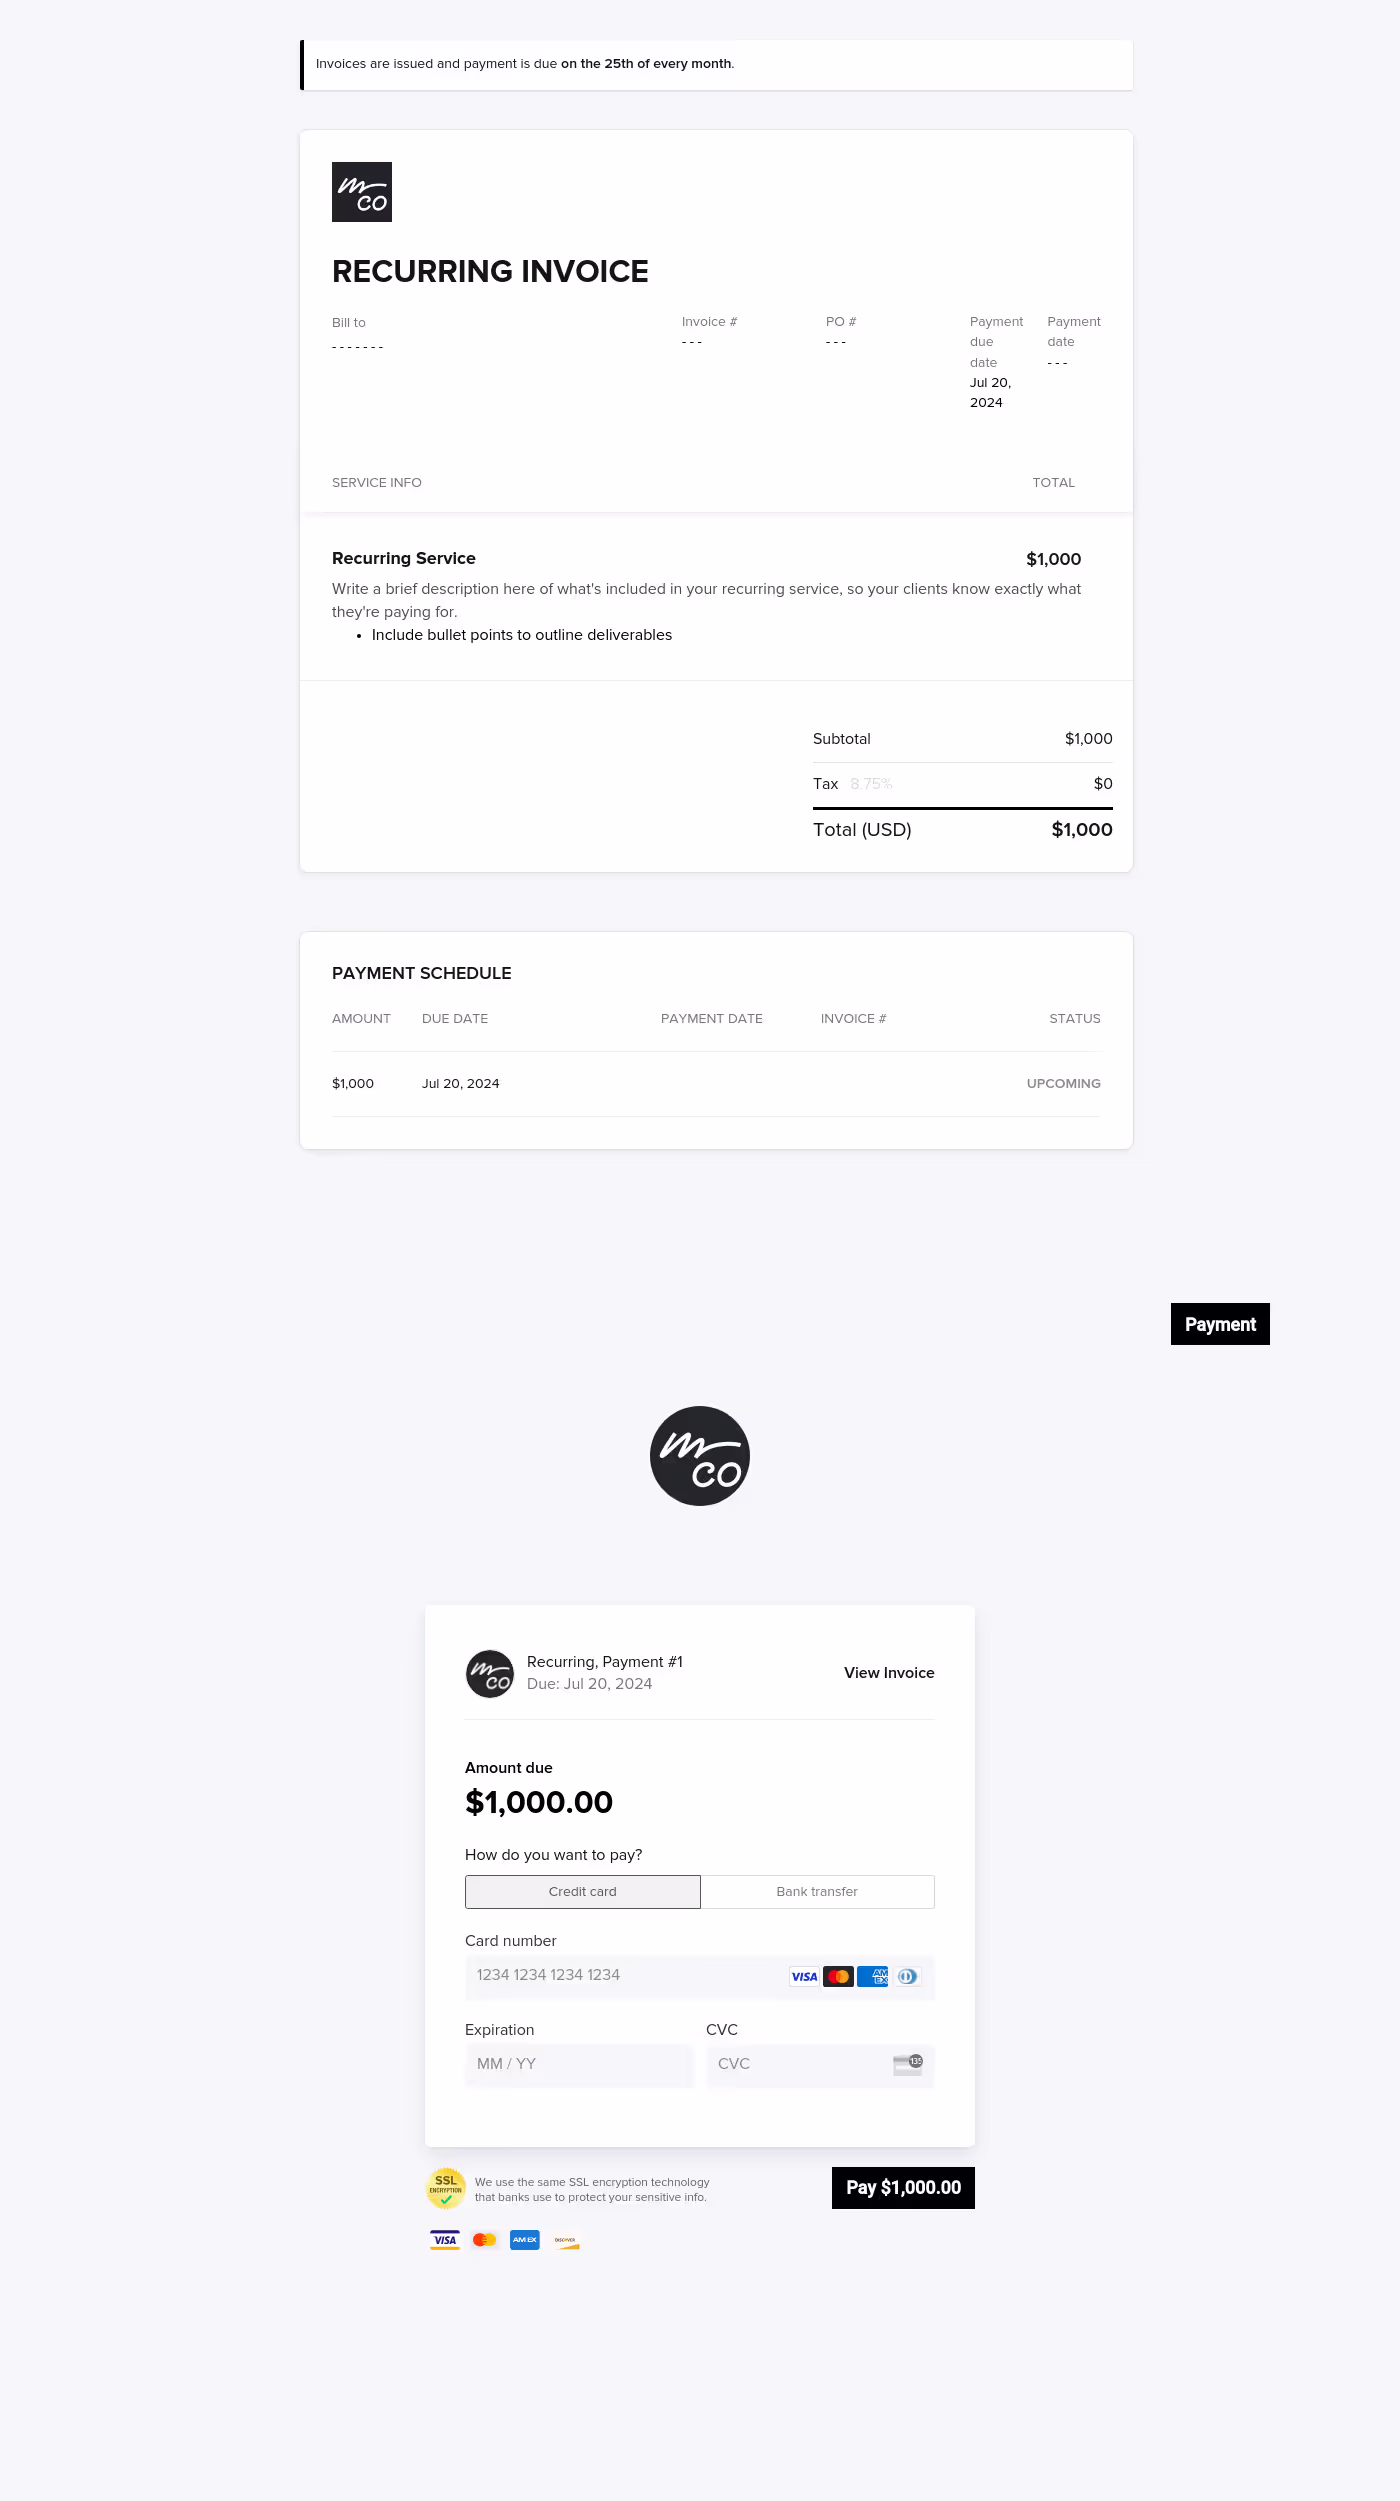
- Reduces payment disputes by documenting totals and terms.
- Saves time by cutting back and forth.
That means fewer surprises for clients and fewer fire drills for you.
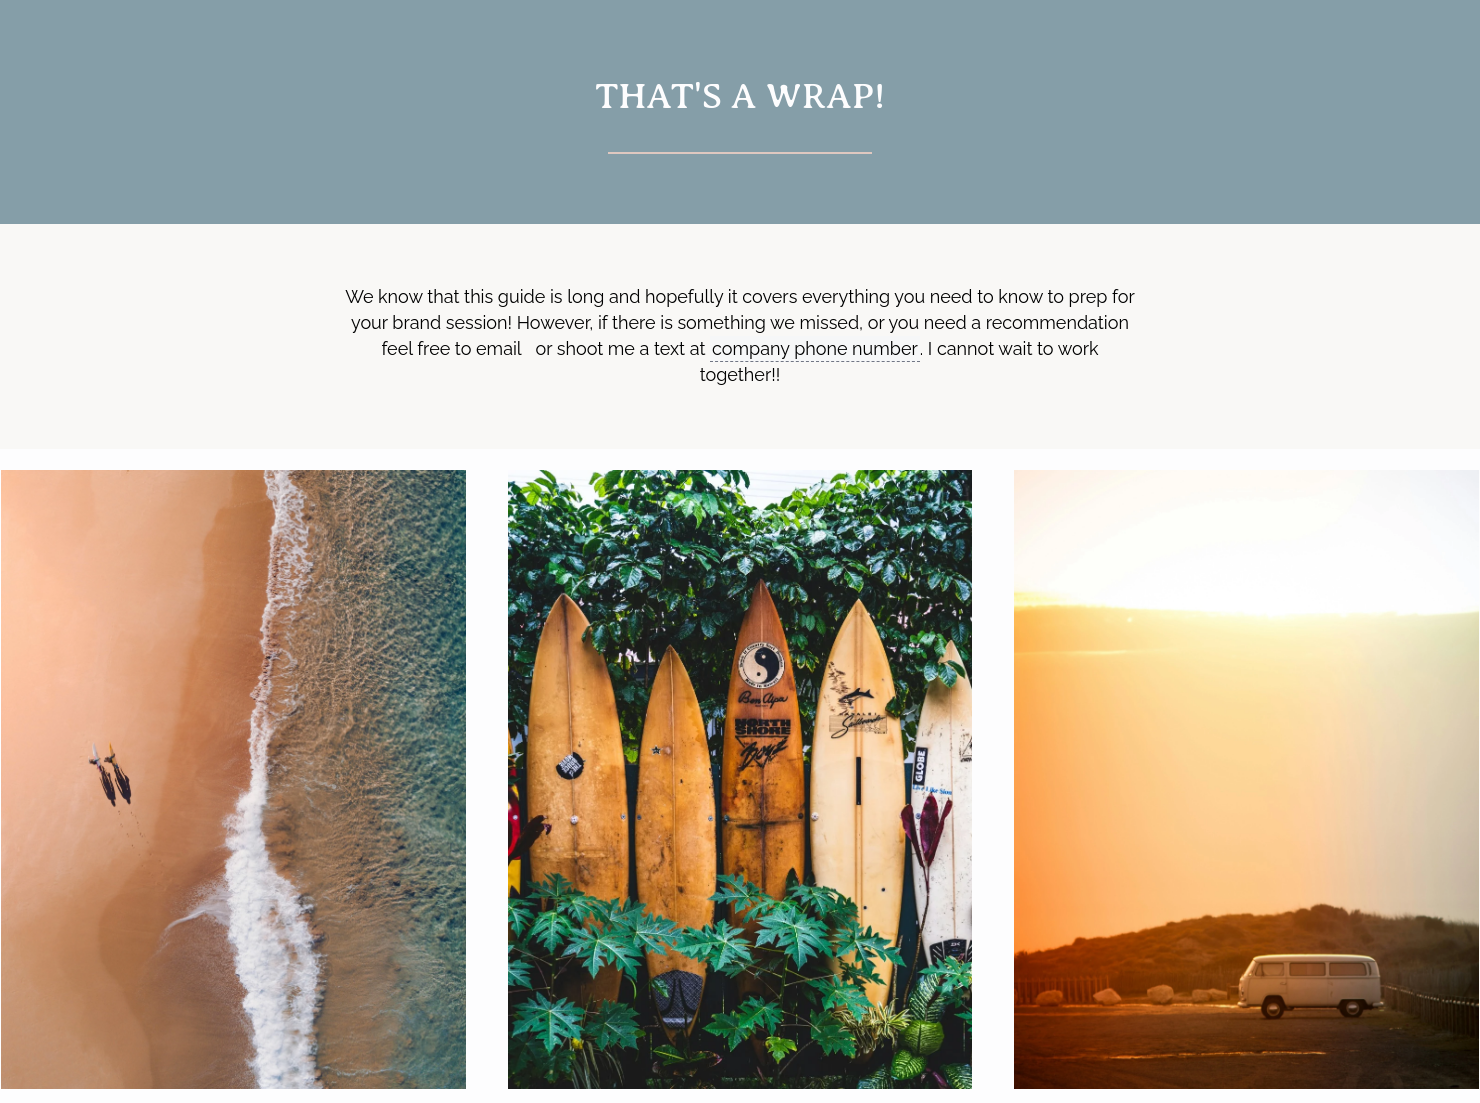
Get started with a brand photography session prep guide template
Avoid the delays and confusion that often come with brand photography sessions. A HoneyBook session prep guide template helps you prepare clients, stay organized, and create a smooth, memorable experience.
FAQs
Below are quick answers to common questions from caterers building a catering menu that clients can approve with confidence.
A session prep guide should be sent to clients immediately after their bookings, between 24 and 48 hours, to set expectations. You can send them a reminder a week or two before the session.
Your session prep guide should cover key details needed to make the shoot successful such as the time, location, props etc.
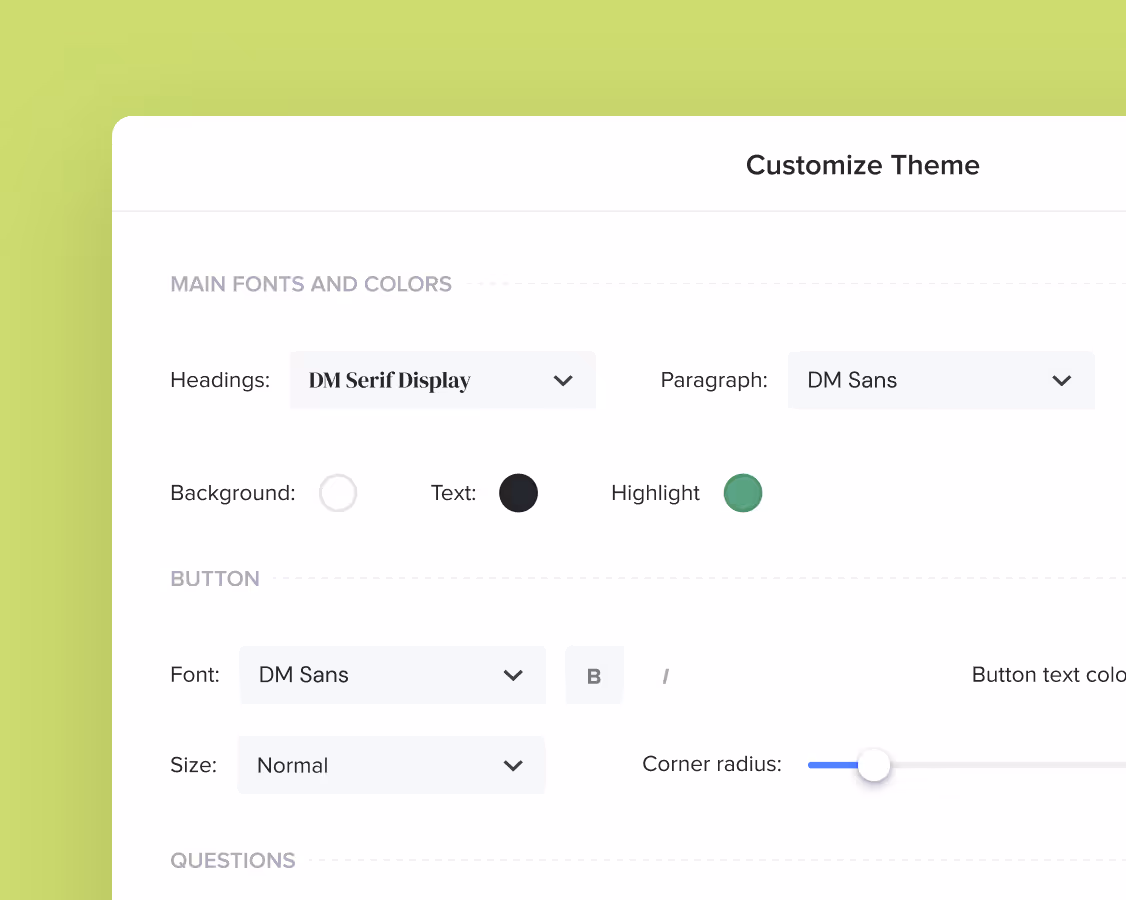
Yes. You can customize fonts, colors, images, pricing tables, contract language, and messaging to reflect your brand’s voice and visual identity.
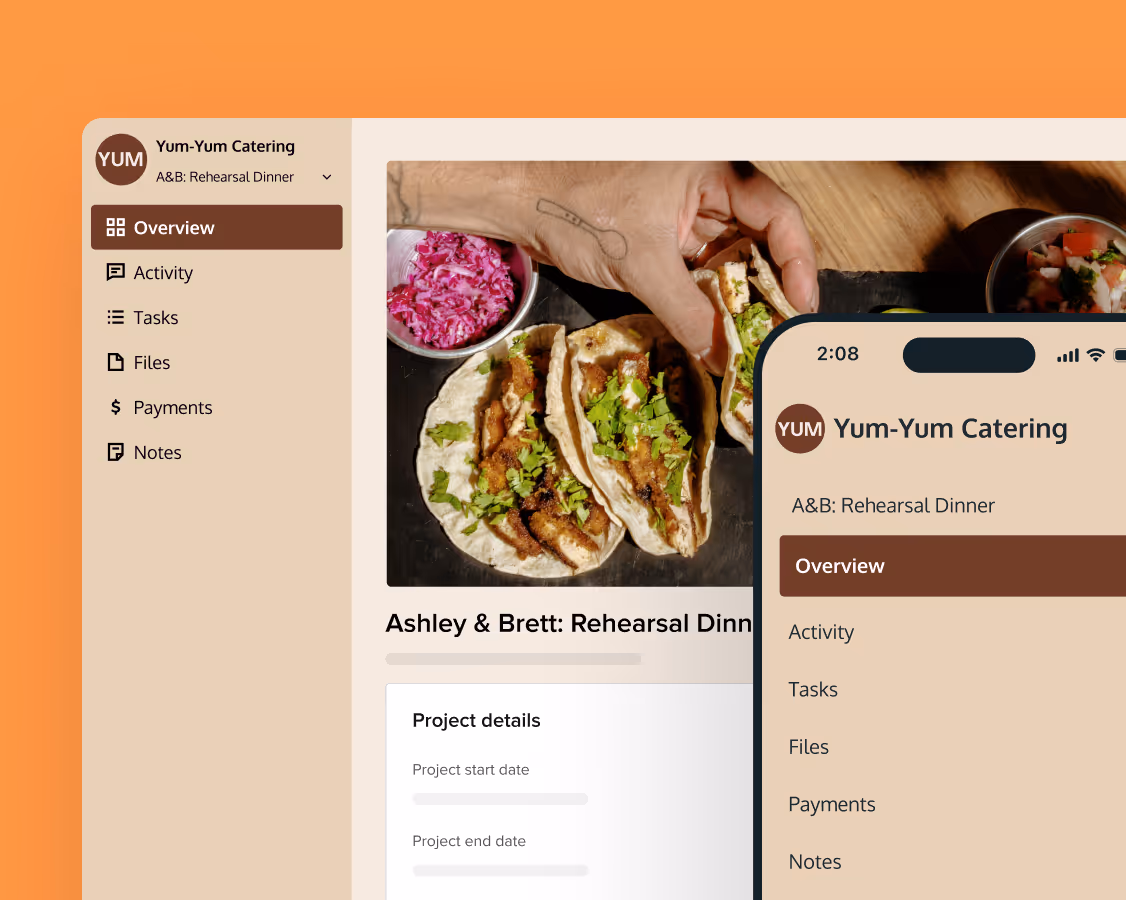
Yes. With the HoneyBook mobile app, you can create, customize, send, and manage templates and Smart Files from anywhere. This means you can respond to inquiries, share documents, and keep projects moving whether you’re at your desk or on the go.
Related templates


Related Templates
.png)


Make it your own
Fully customize the template to fit your needs. Quickly apply your company branding with just a few clicks.
Share with clients
Create exceptional client experiences through HoneyBook’s dedicated client portal, allowing them to read, review, and take action from any device.
Reuse and scale
Use your customized files with different clients again and again to save time and make managing client interactions that much easier.
Join the 100,000+ businesses growing with HoneyBook.