

Set up HoneyBook with confidence: A complete getting started guide
Start a Trial
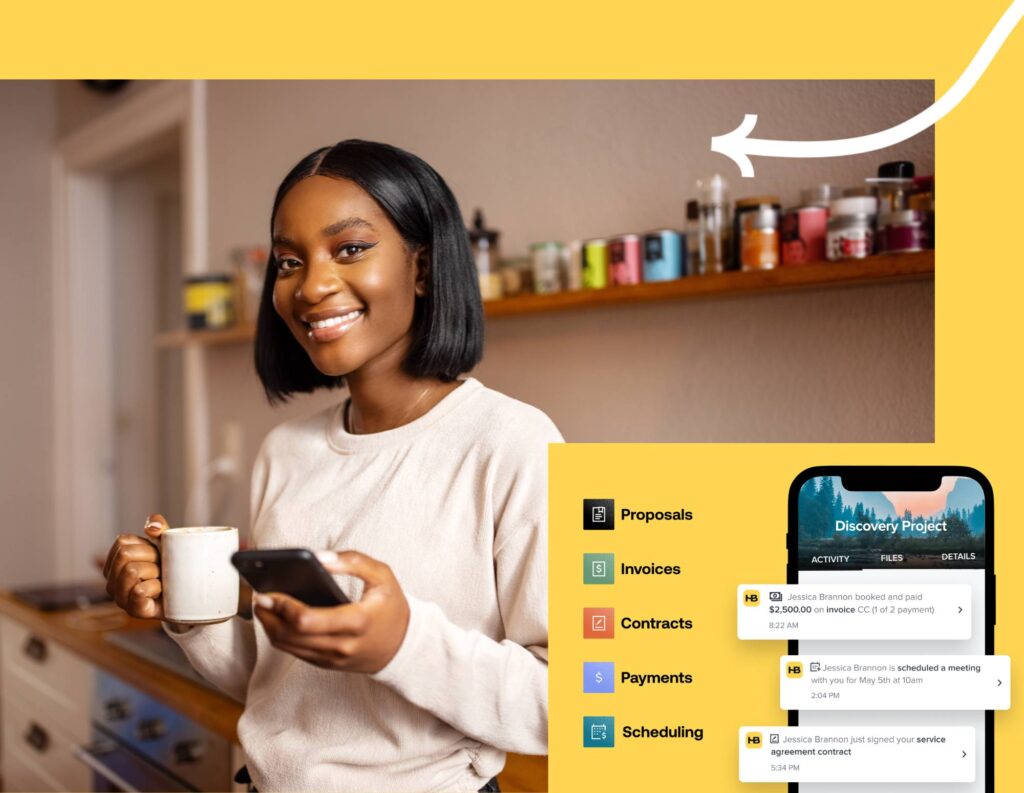
Make HoneyBook setup easy with these options for transitioning your existing work into the platform. With these steps, you can grow and scale inside HoneyBook with ease.
Getting started with any new software can be overwhelming, but it doesn’t have to be. If you’ve just started using HoneyBook, you can leverage a variety of free services and education to get started successfully (and with less stress on your end).
Learn how to take advantage of HoneyBook’s free file setup services, plus use this guide to make sure you’re accomplishing some of the highest-priority onboarding steps. These steps ensure you won’t have any operating hiccups and you can continue to build out your account with ease.
How to use HoneyBook’s free file setup service
If you’re an existing business owner, you likely have current processes, systems, and documents in place. Whether your files currently exist in docs, spreadsheets, PDFs, or a combination of formats, you can use HoneyBook’s file setup service to migrate them into your new account for free.
We’ll take your existing files and build them into your HoneyBook account. From there, you can edit and use them as needed, but you don’t need to take the time to migrate them into HoneyBook on your own.
You can send your files in .doc, .pdf, .jpg, .png, .xls, and .txt formats. Some examples of file types you can send in include:
- Pricing lists
- Lists of packages and services
- Contract language
- Lead and client questionnaires
- Spreadsheet of existing clients and open invoices
Once you upload your files, just wait 72 hours and you’ll hear back from our team when your templates are ready in your account. You’ll be able to find them in My Templates, where you can star the templates you use the most, organize them into folders, and start sending them to clients.

Use HoneyBook’s free file setup service to transfer existing files into your account.
Steps to onboard with HoneyBook
Along with building your files in HoneyBook, there are a few other onboarding steps that will get you set up for success. We recommend focusing on these setup steps before diving deeper into your account.
1. Upload your brand assets
HoneyBook enables you to manage business processes with leads and clients, and it’s important to maintain consistency and professionalism at each step. To do so, start with implementing your unique brand in your HoneyBook account.
Within your company settings, you can upload your logo, set a default theme with your brand colors and fonts, upload other brand assets and imagery, and integrate your business email account.
2. Add your business bank account
One of the biggest benefits of HoneyBook is being able to book clients and get paid in the same system. Make sure you can get paid through HoneyBook by adding your bank account information.
You can do so through your company settings. After your bank account is connected, you can receive payments through your HoneyBook invoices, where clients can pay via credit card or ACH bank transfer.
When logged into HoneyBook, head to your company settings to connect your bank account, apply your company brand, and more.
3. Set up your different project types/services
Establishing the different project types or services that you offer is quick to set up in HoneyBook through your company settings. Once these are established in your account, you can organize your work by project type, and you can set up automations based on the leads who inquire about a specific service that you offer.
For instance, if you’re a social media consultant, your project types might include:
- Social audit
- Social audit and content strategy
- 3-month retainer
- 12-month retainer
4. Build your file templates
If you have existing file templates, upload them using the free file setup service. While this is an easy way to get started quickly, you can also build your file templates manually.
To build new files, we recommend starting with the HoneyBook template gallery. There, you can browse by your needs, including:
- Invoices and invoice templates
- Contracts and contract templates
- Brochures and brochure templates
- Proposals and proposal templates
- Pricing & services guides
- and more!
You can create your first freelancer contract template or to find templates that work for your business, you can also filter by specific industries, like coaching, graphic design, photography, event planning, and more. From a tutor invoice template to an interior design invoice template, choose exactly what you need for your business to succeed.
Once you choose a file template that you like, you can easily apply your branding (this is why it’s so helpful to set up your company theme first), and then customize it to fit your needs. The drag-and-drop file builder makes it easy for you to remove sections you don’t need or add more copy, images, videos, and actions.
Once you’re done setting up any file, you can send yourself a test file so you can see exactly what the client experience will look like.
5. Create a form for lead capture
HoneyBook facilitates your entire clientflow, starting with capturing new business. To do so, set up your lead capture either with a contact form or lead form.
Contact forms are embeddable on your website and offer a simple form for new inquiries. On the other hand, lead forms enable you to include more actions up front, like scheduling and booking your services instantly. You can link lead forms anywhere, including your website and social profiles.
Related Post
How to use HoneyBook for frictionless lead capture and management

6. Setup your initial automations
HoneyBook automations are a powerful way to make sure your typical workflows move forward with greater consistency for your clients and less work on your end.
By setting up your project types, files, and forms, you have everything you need to set up new automations.
To get started, think through the different processes that you can automate. You may want to create a workflow for new leads or for clients once they’re booked and onboarded.
Your HoneyBook automations can be made up of internal task reminders, emails, and files. You can activate them via your contact form or lead form, or apply them manually to a project that already exists.
Related Post
How to use HoneyBook automations to reduce workload and elevate your client experience

7. Explore your project pipeline and client workspace
If you’ve covered steps 1-6, you’re at a good place to start capturing potential clients, booking them, and managing them in HoneyBook! As a last step, we recommend exploring your project pipeline and client workspace. You can use your client workspace to view multiple projects associated with a specific client and track their holistic relationship beyond the project level. To get started, upload any current clients or contacts you have into the contacts section of your account.
In the project pipeline, you can see all of your existing projects, their statuses, dates, and project types. There, you can also assign projects to any other team members you have and click into each project to view your client communication, files, payments, and other details.
Get setup with HoneyBook quickly
Once your HoneyBook account is setup, it’s easier to quickly onboard new clients, communicate in one place, manage your payments, and more.
Need more assistance? Here are some additional resources you can use to get started with HoneyBook:
- Attend a HoneyBook orientation webinar or view our on-demand training videos
- Explore the HoneyBook Help Center for more detailed information on how to set up specific features
- Read our HoneyBook guides on the blog to understand which HoneyBook features can solve your biggest business challenges
- Explore the Pros marketplace to hire more hands-on, consultative business support. HoneyBook Pros can go beyond setting up your account by helping you understand and improve your business processes.

Centralize your client management
Capture leads, sell services, manage projects, and nurture client relationships from one platform. All that and more with HoneyBook.
Get started
HoneyBook's client relationships platform makes it easy for independent business owners to streamline their processes and create remarkable client experiences by combining essential tasks like an online contract, online invoice, client communication, online payment software, and more all in one place.